Overview
Nullstring's Prison Clear Payphone Back Pack is the best of ideas come up with in response to the question “what is the dopest thing you could make Prison Clear?”
Do you remember the Conair landline phones from the 80s and 90s? The clear ones, with all the colors inside?
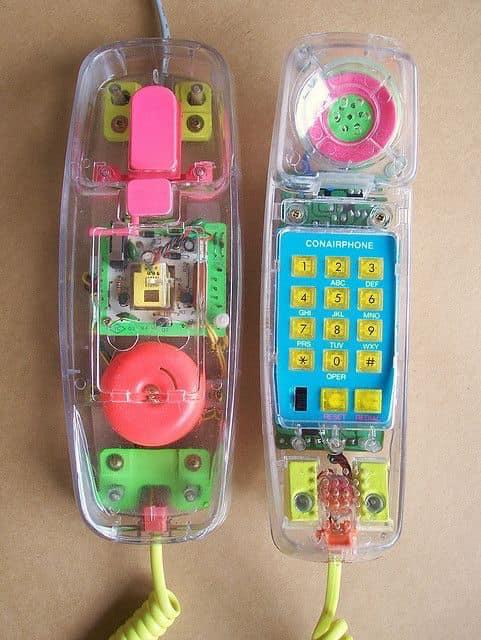
Envision that, but its a fully wireless, battery-powered, functioning payphone on a back pack frame!
I Want One!
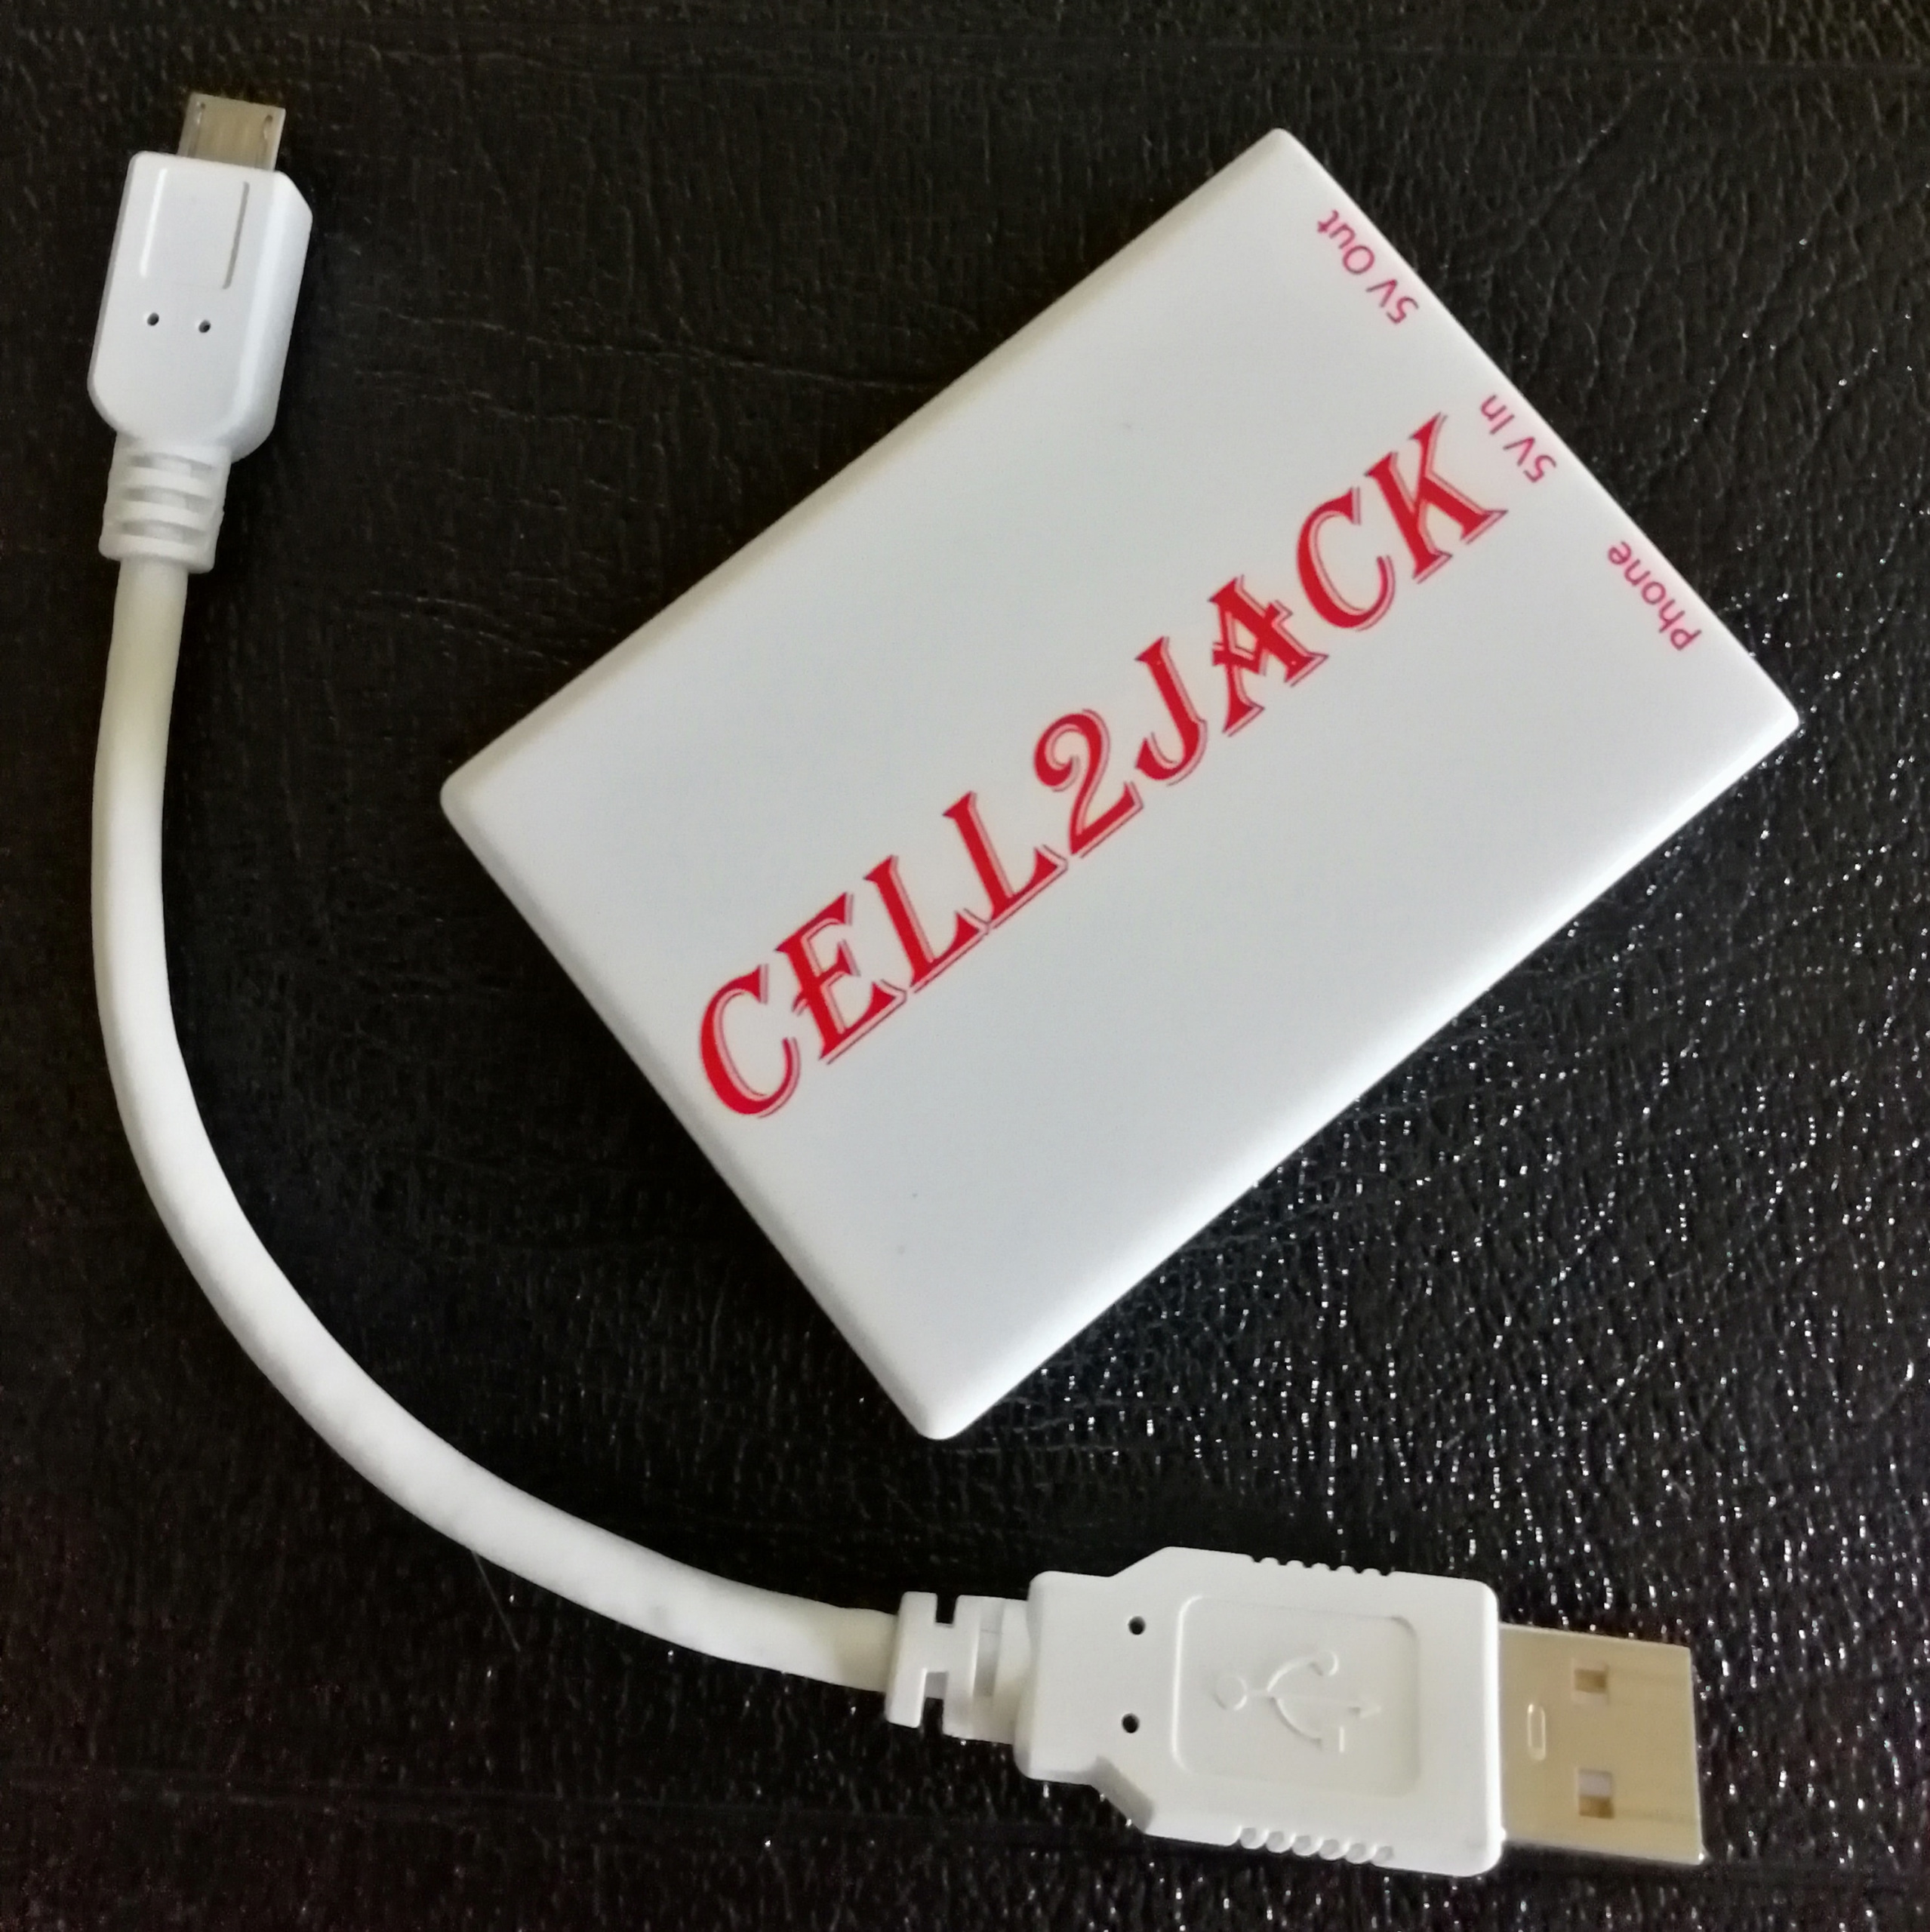
You can't have one! BUT! You CAN have a BananaPhone! A BananaPhone is the core and heart of the Payphone Back Pack! It is a USB-C adapter to connect landline phones to your cellphone!
COTS Iterations – Gross, Bluetooth!
There are a couple of commercial cellphone adapters which enable the use of normal landlines by a cellphone, but they are primarily marketed to old folks and fairly expensive and difficult to obtain. On top of all that, these devices rely exclusively on Bluetooth to connect to a cellphone which is a real drag. Opening these devices up they are both ESP32-based and have some other stuff like what look like DACs.
- Cell2Jack or XB2
- Cellphone
- Landline Phone
- LIPO Pack
Using these devices, I set up a little demonstration at DEF CON 33 with a clear Conair landline phone, though most people were wary to try it out even if interested in seeing an old clear neon phone connected by wire to a fanny pack carried around.
Not good enough! While this was fun I would prefer to keep everything hardwired and leave the Bluetooth out of it, so I must go bespoke.
Bespoke Iterations
Housing Design
My initial plan was to buy a payphone and then cast a mold from it and use that to cast a resin housing. This turned out to be extremely difficult as the housing was in bad shape and very hard to get a good mold from.

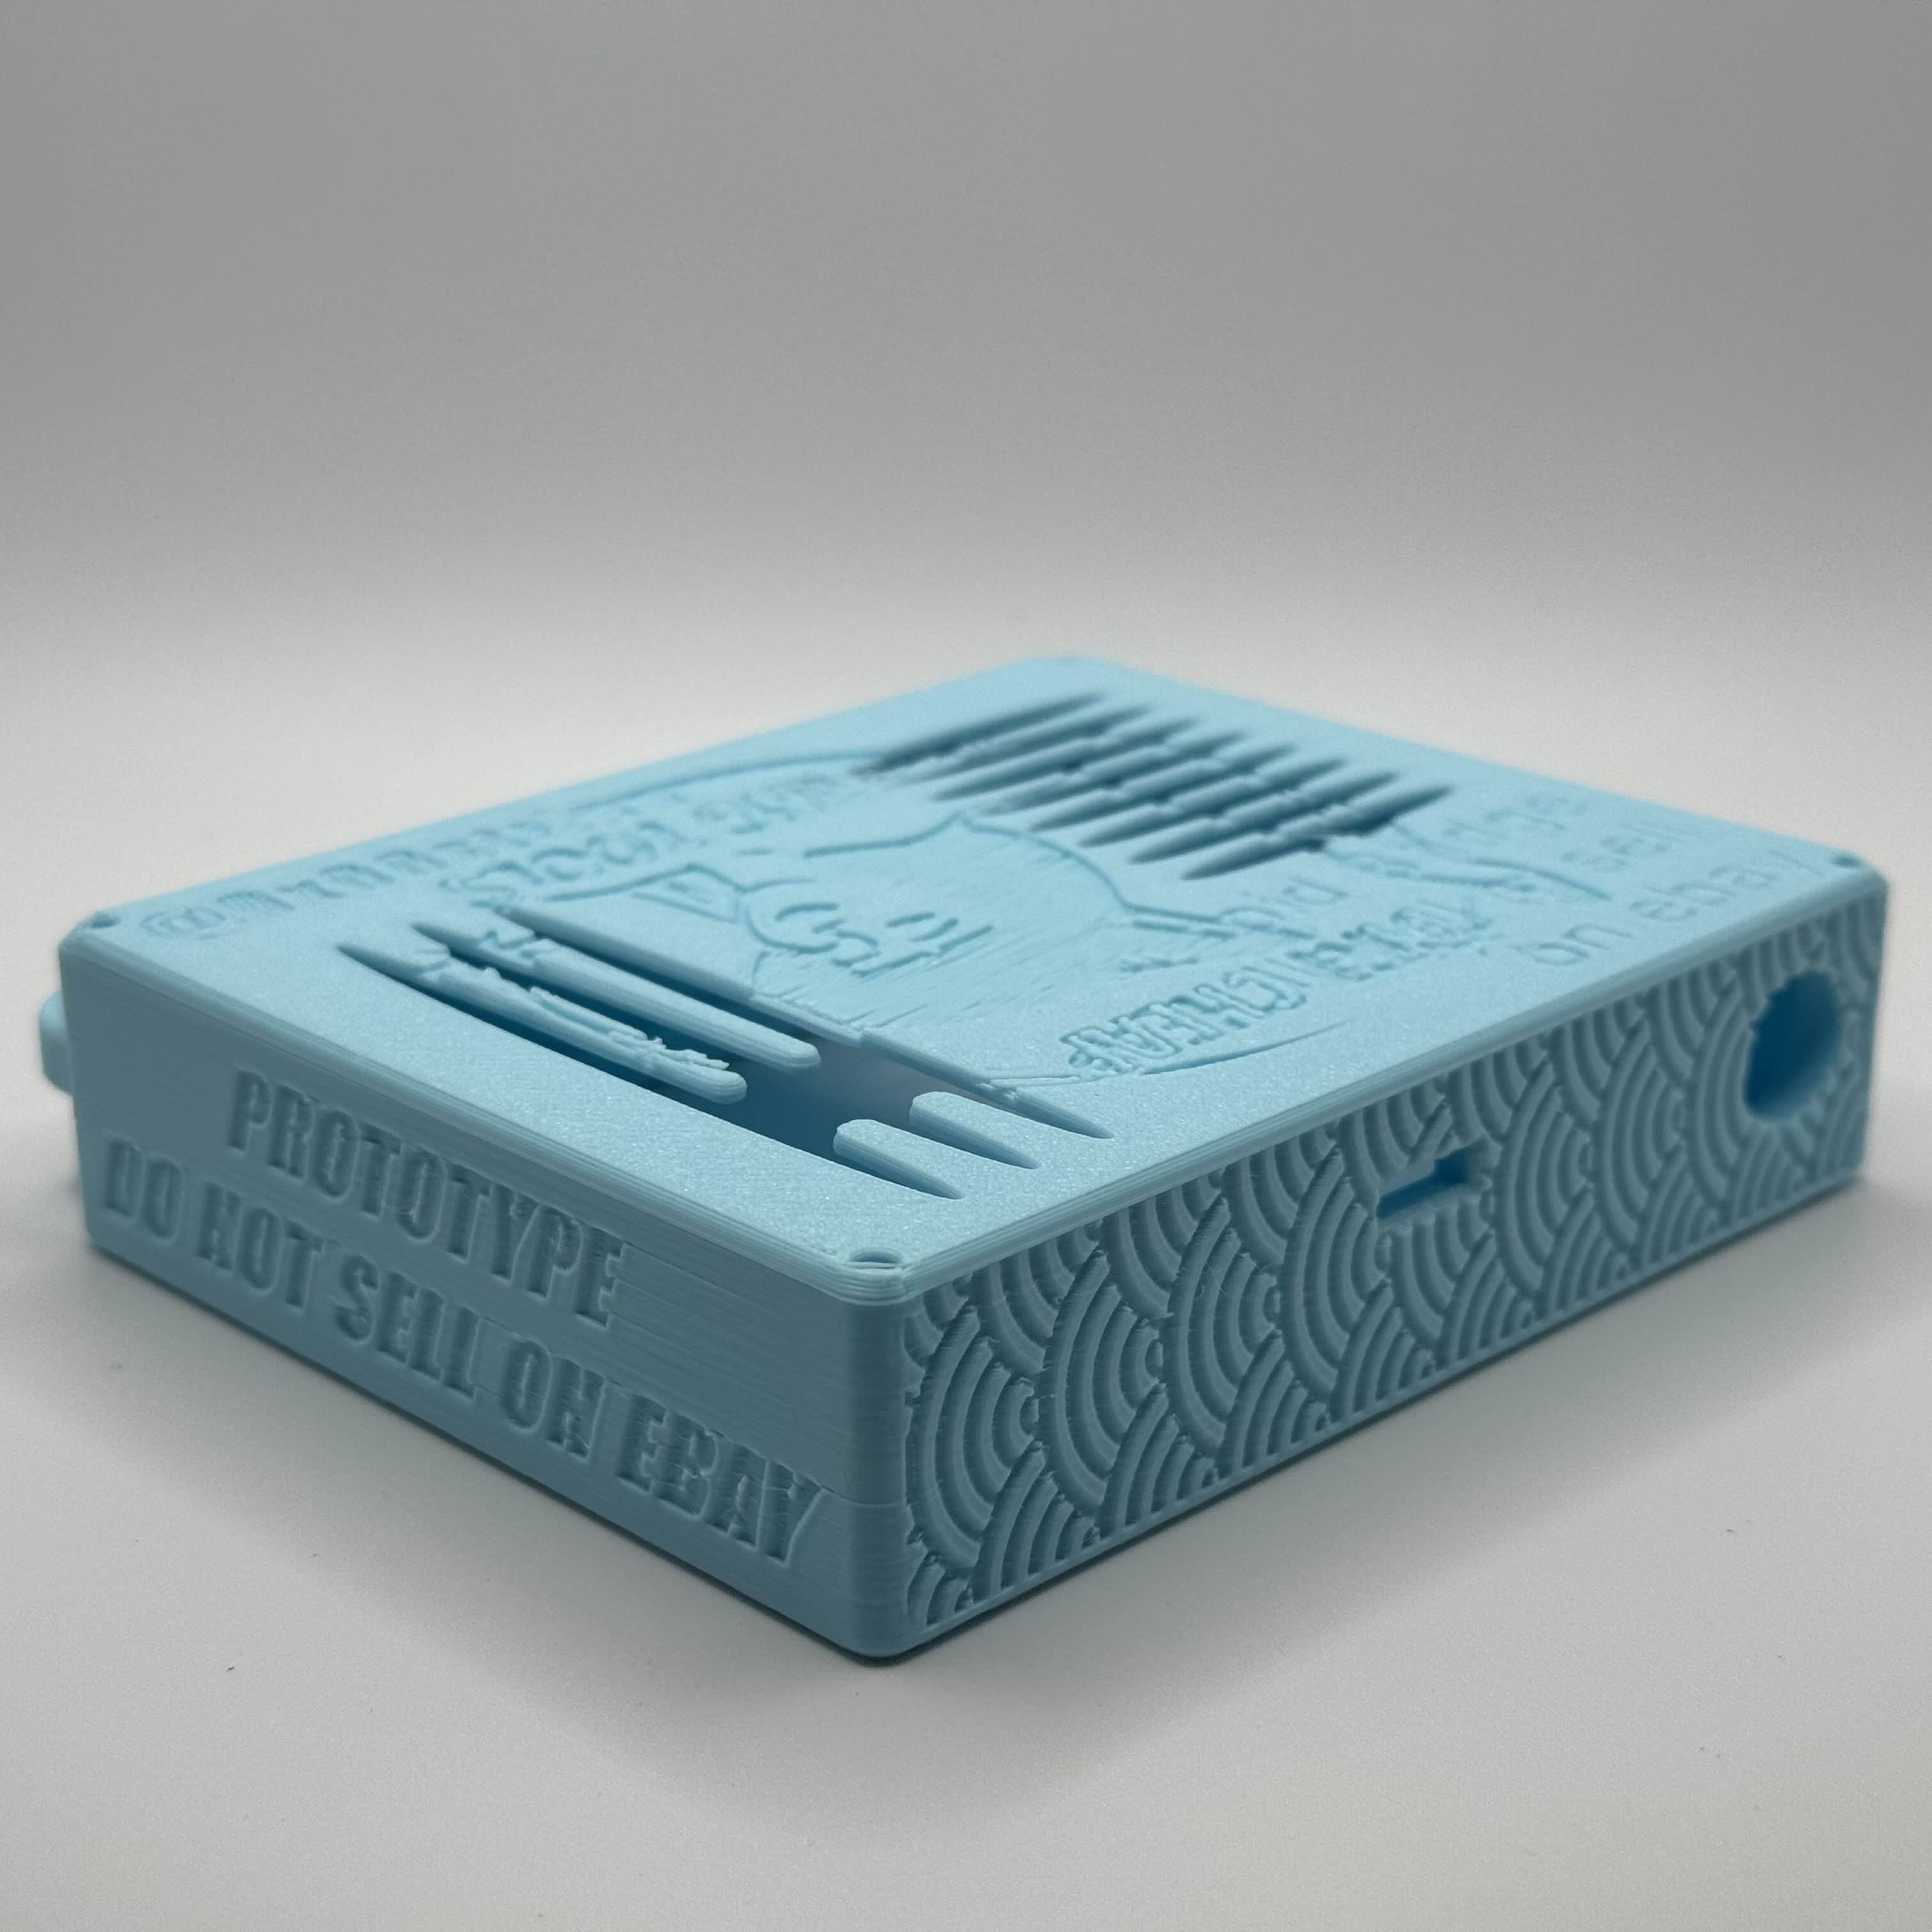
I gave up on this and decided to pursue 3D modeling for large scale SLA resin printing instead.
3D Modeling
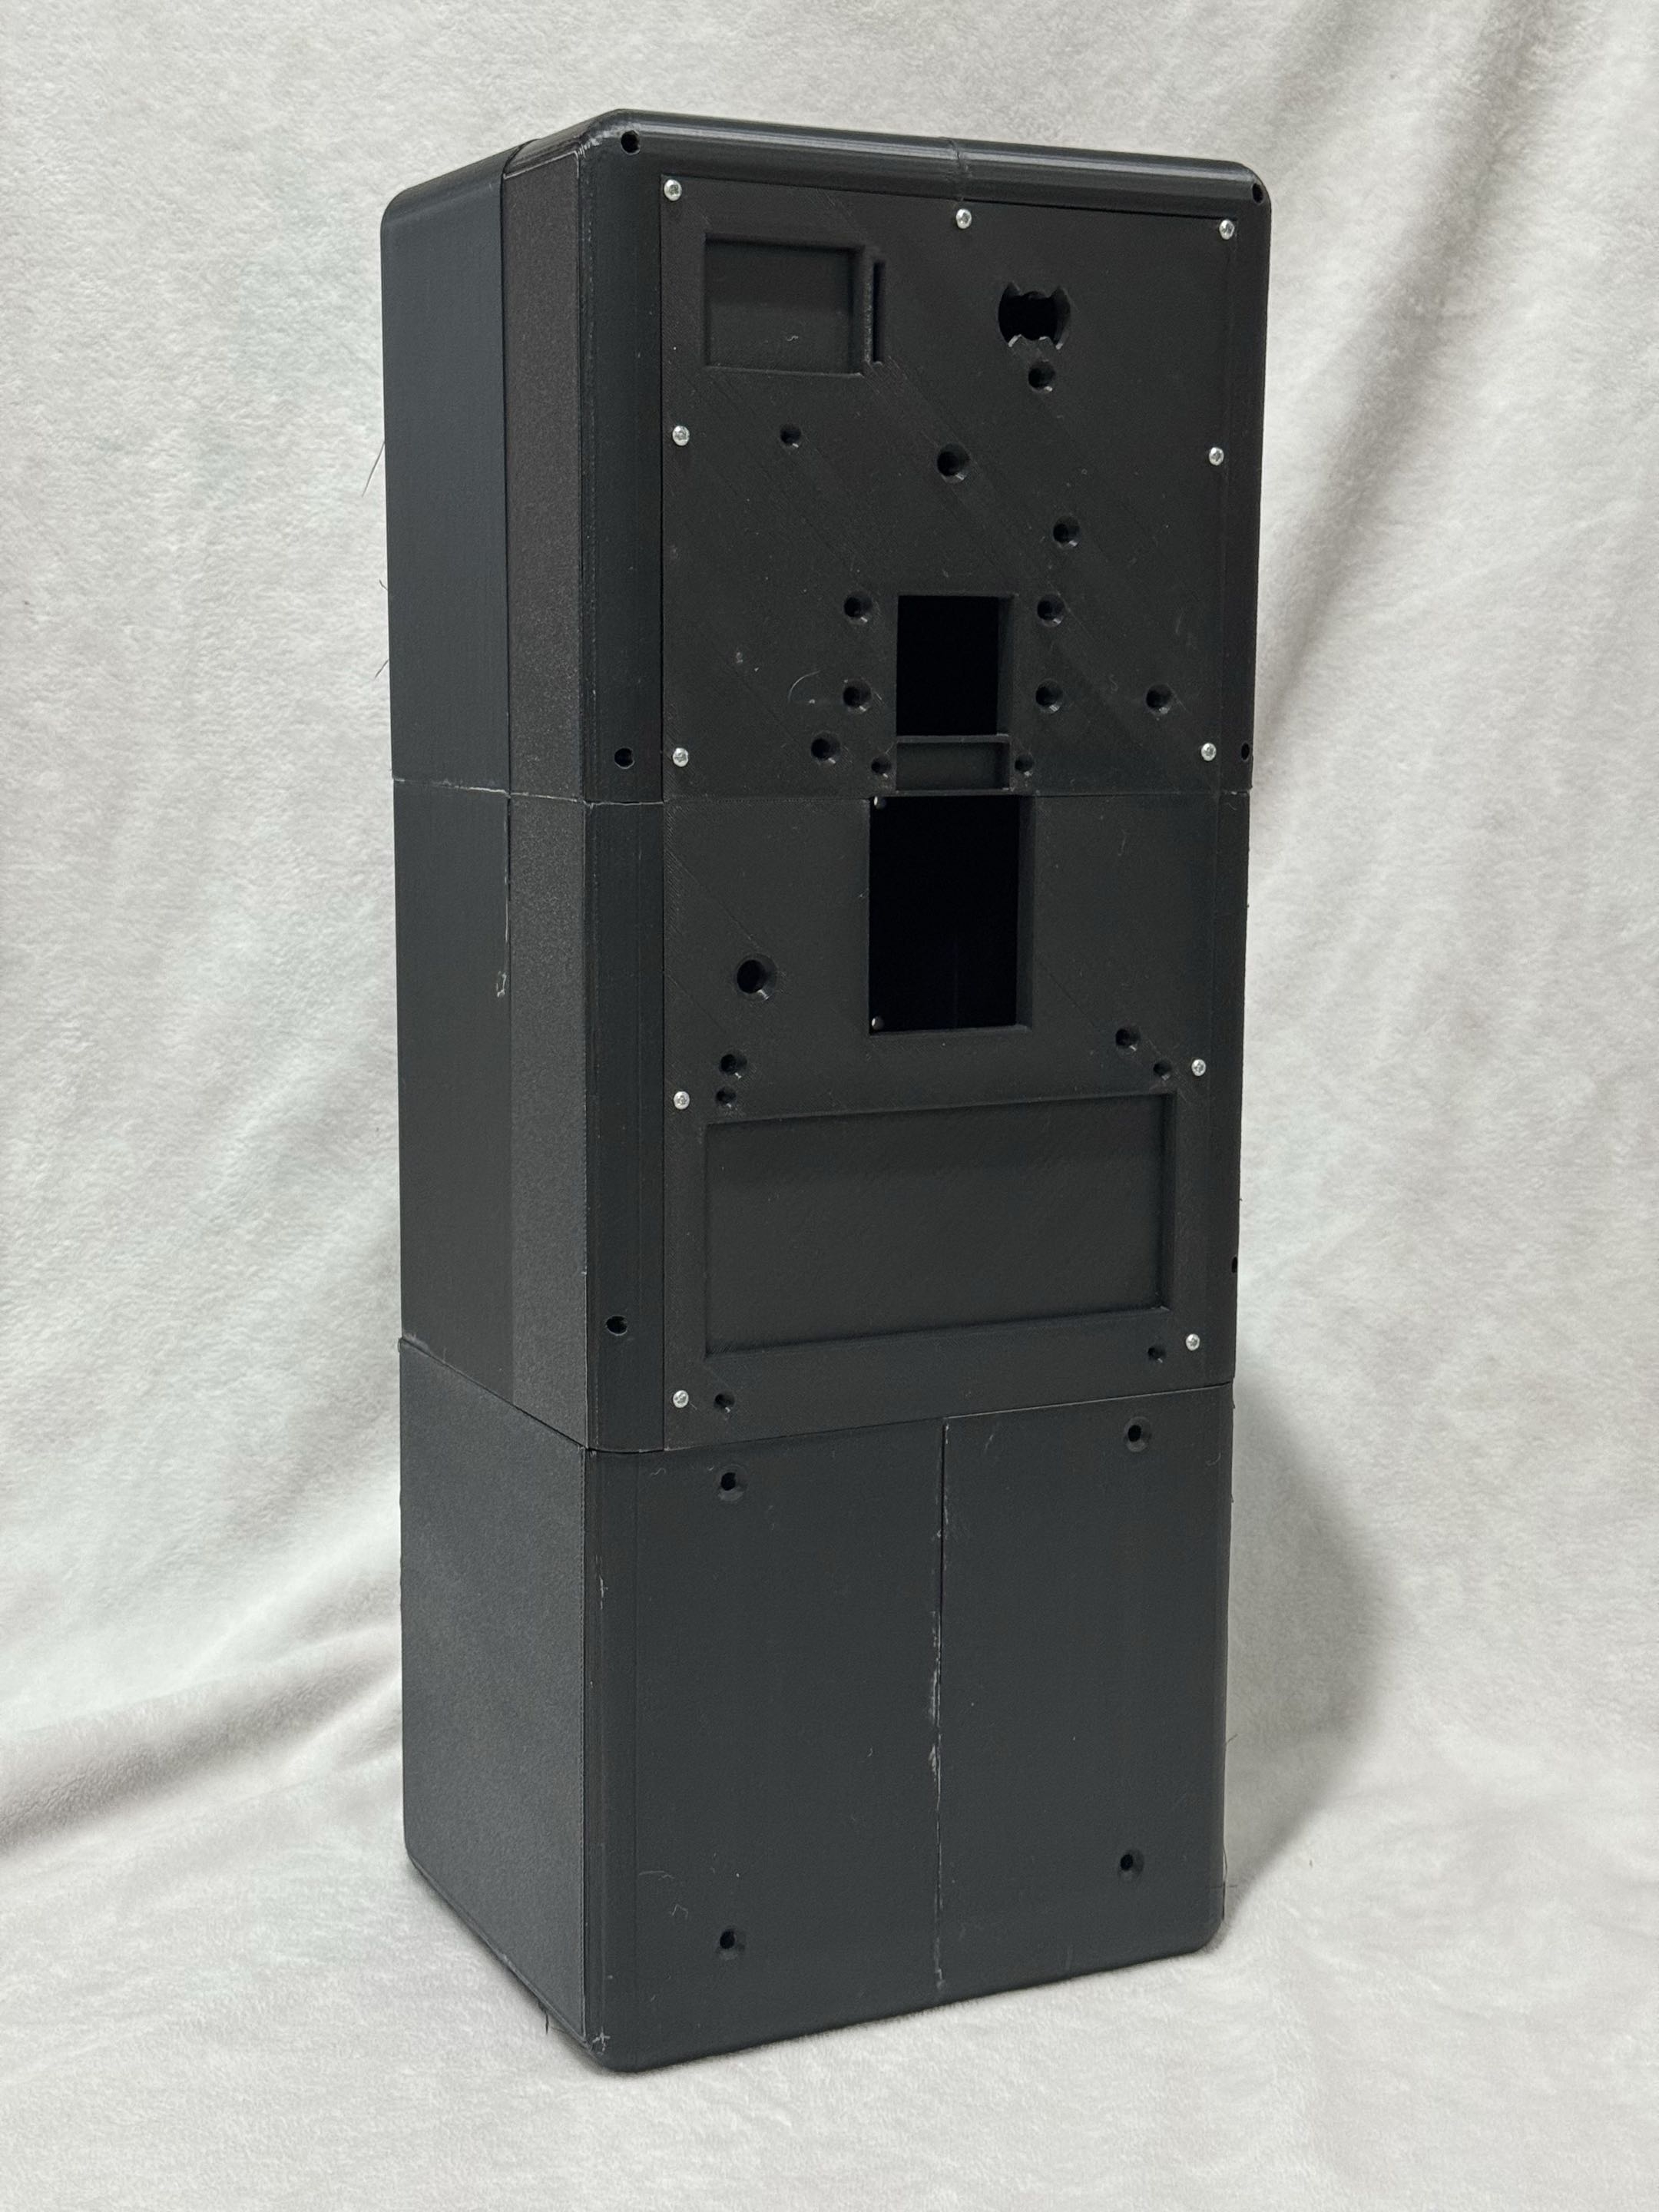
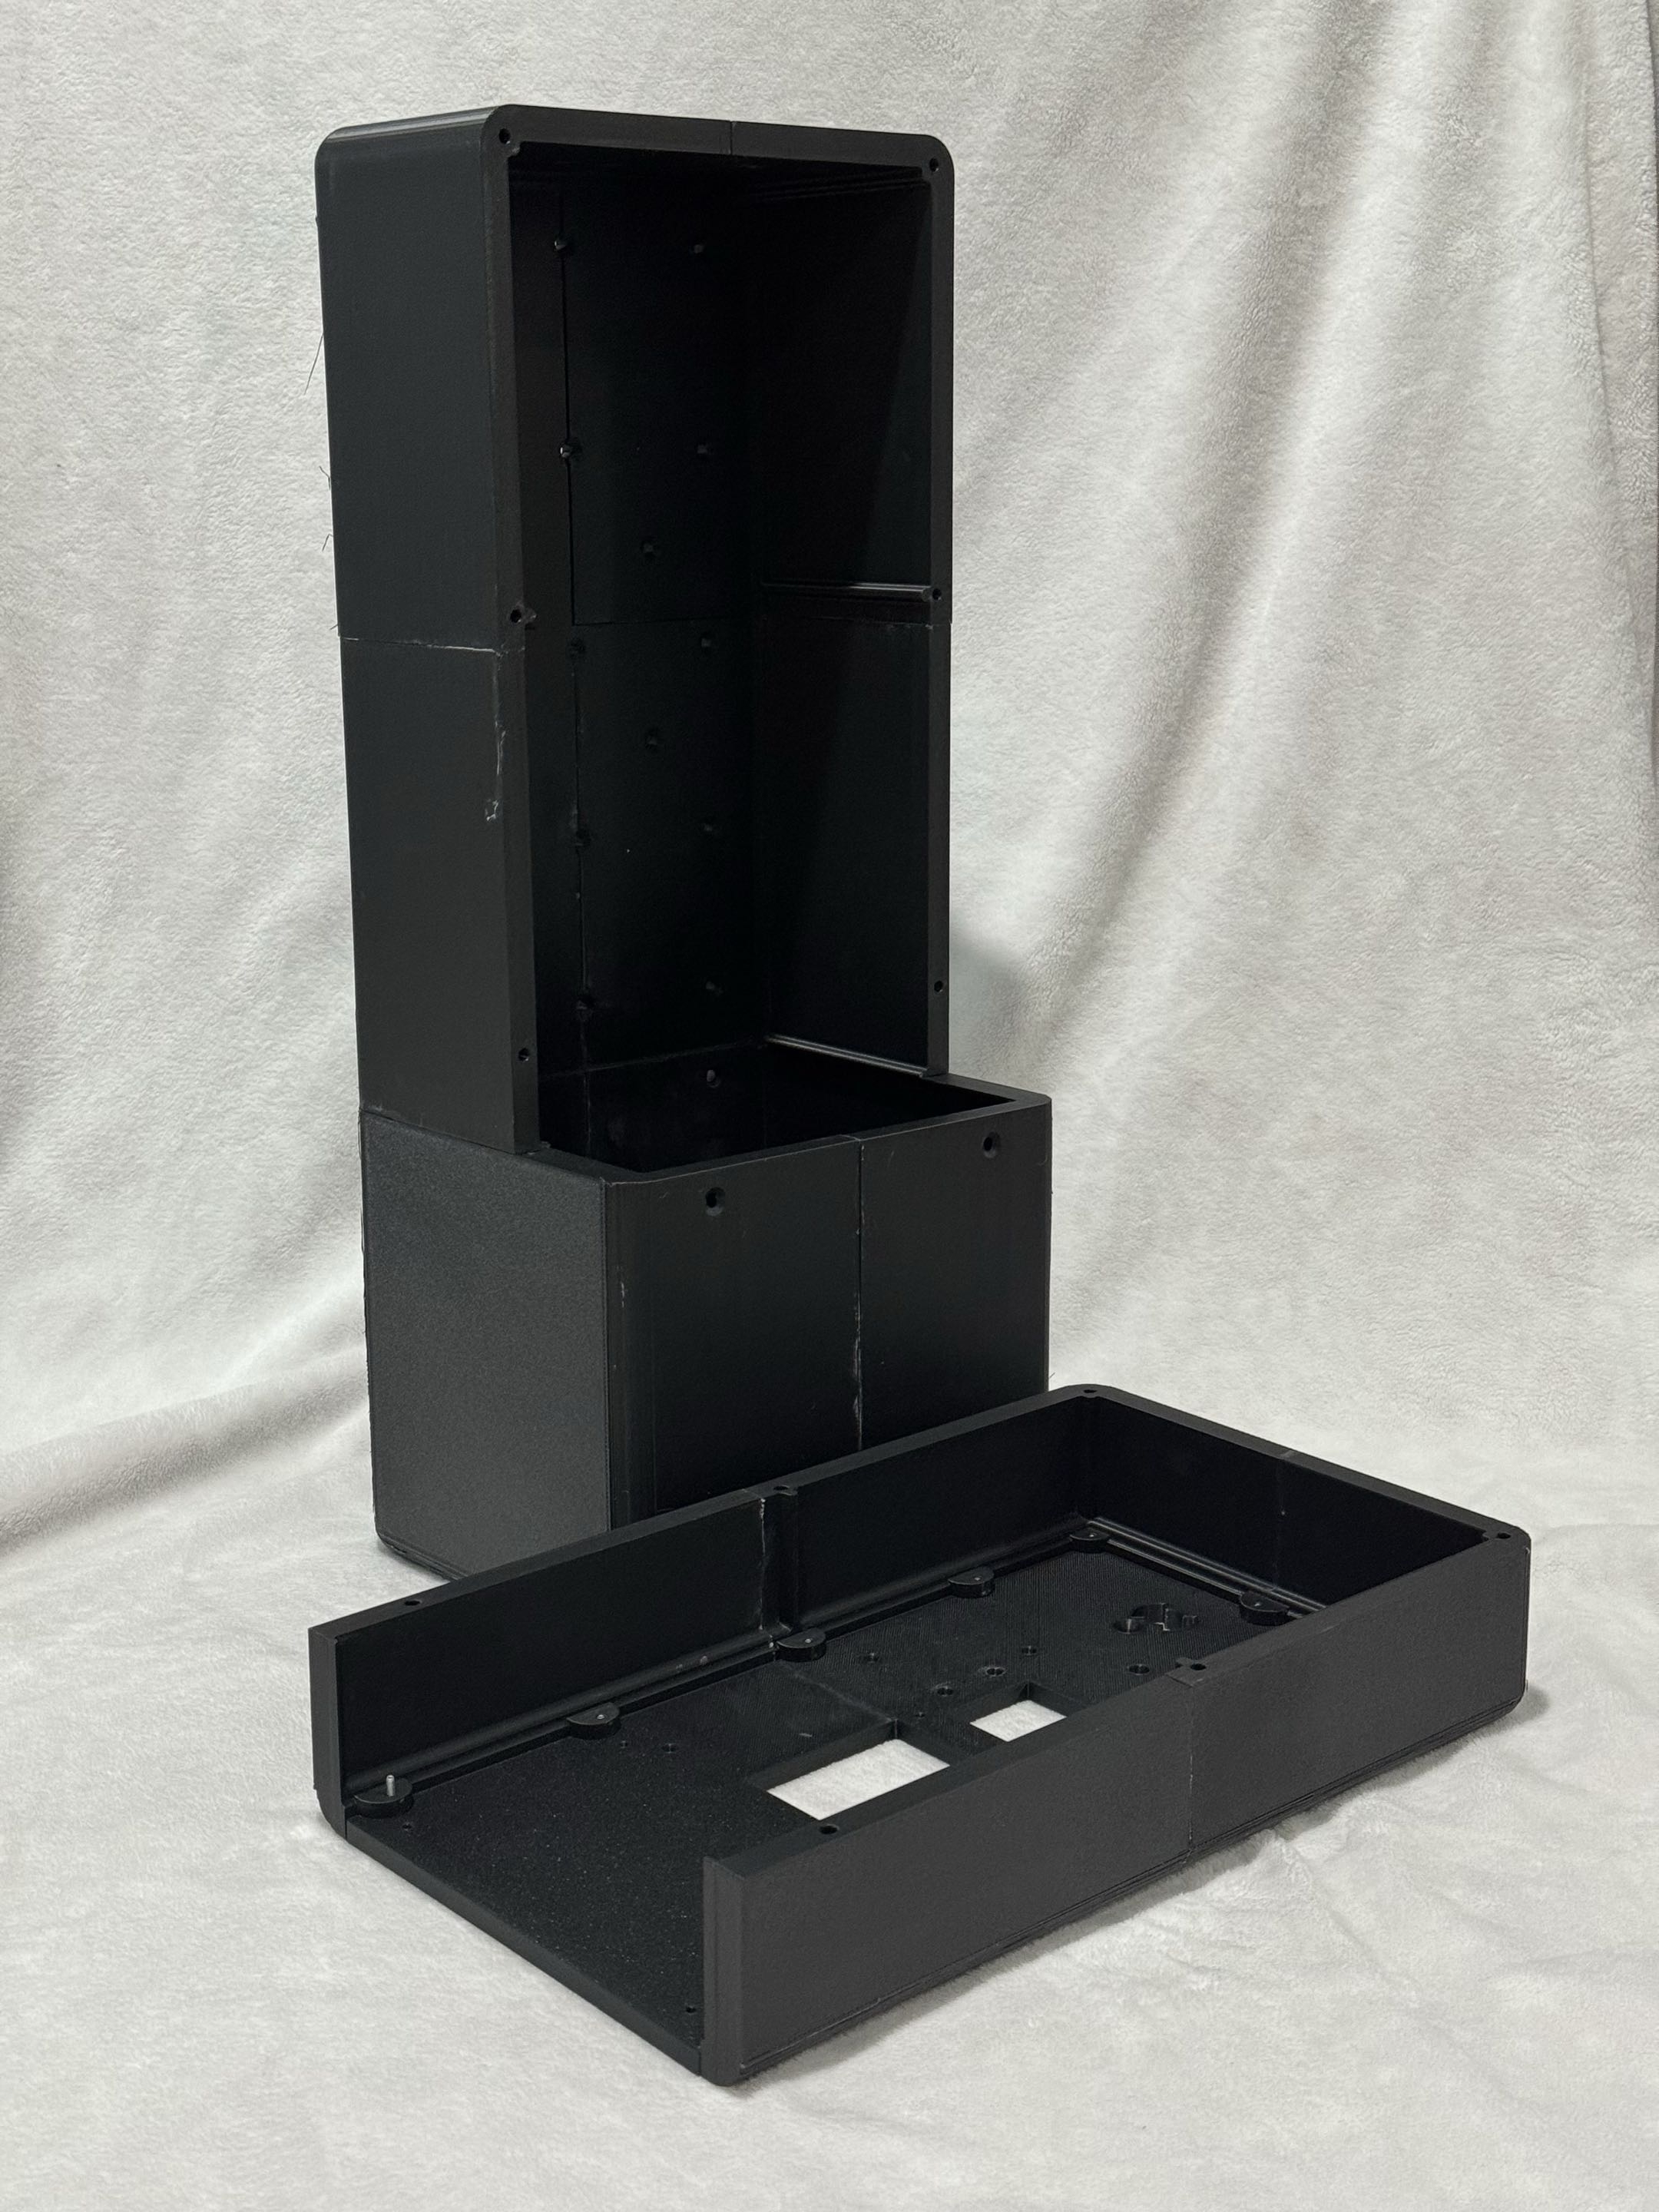
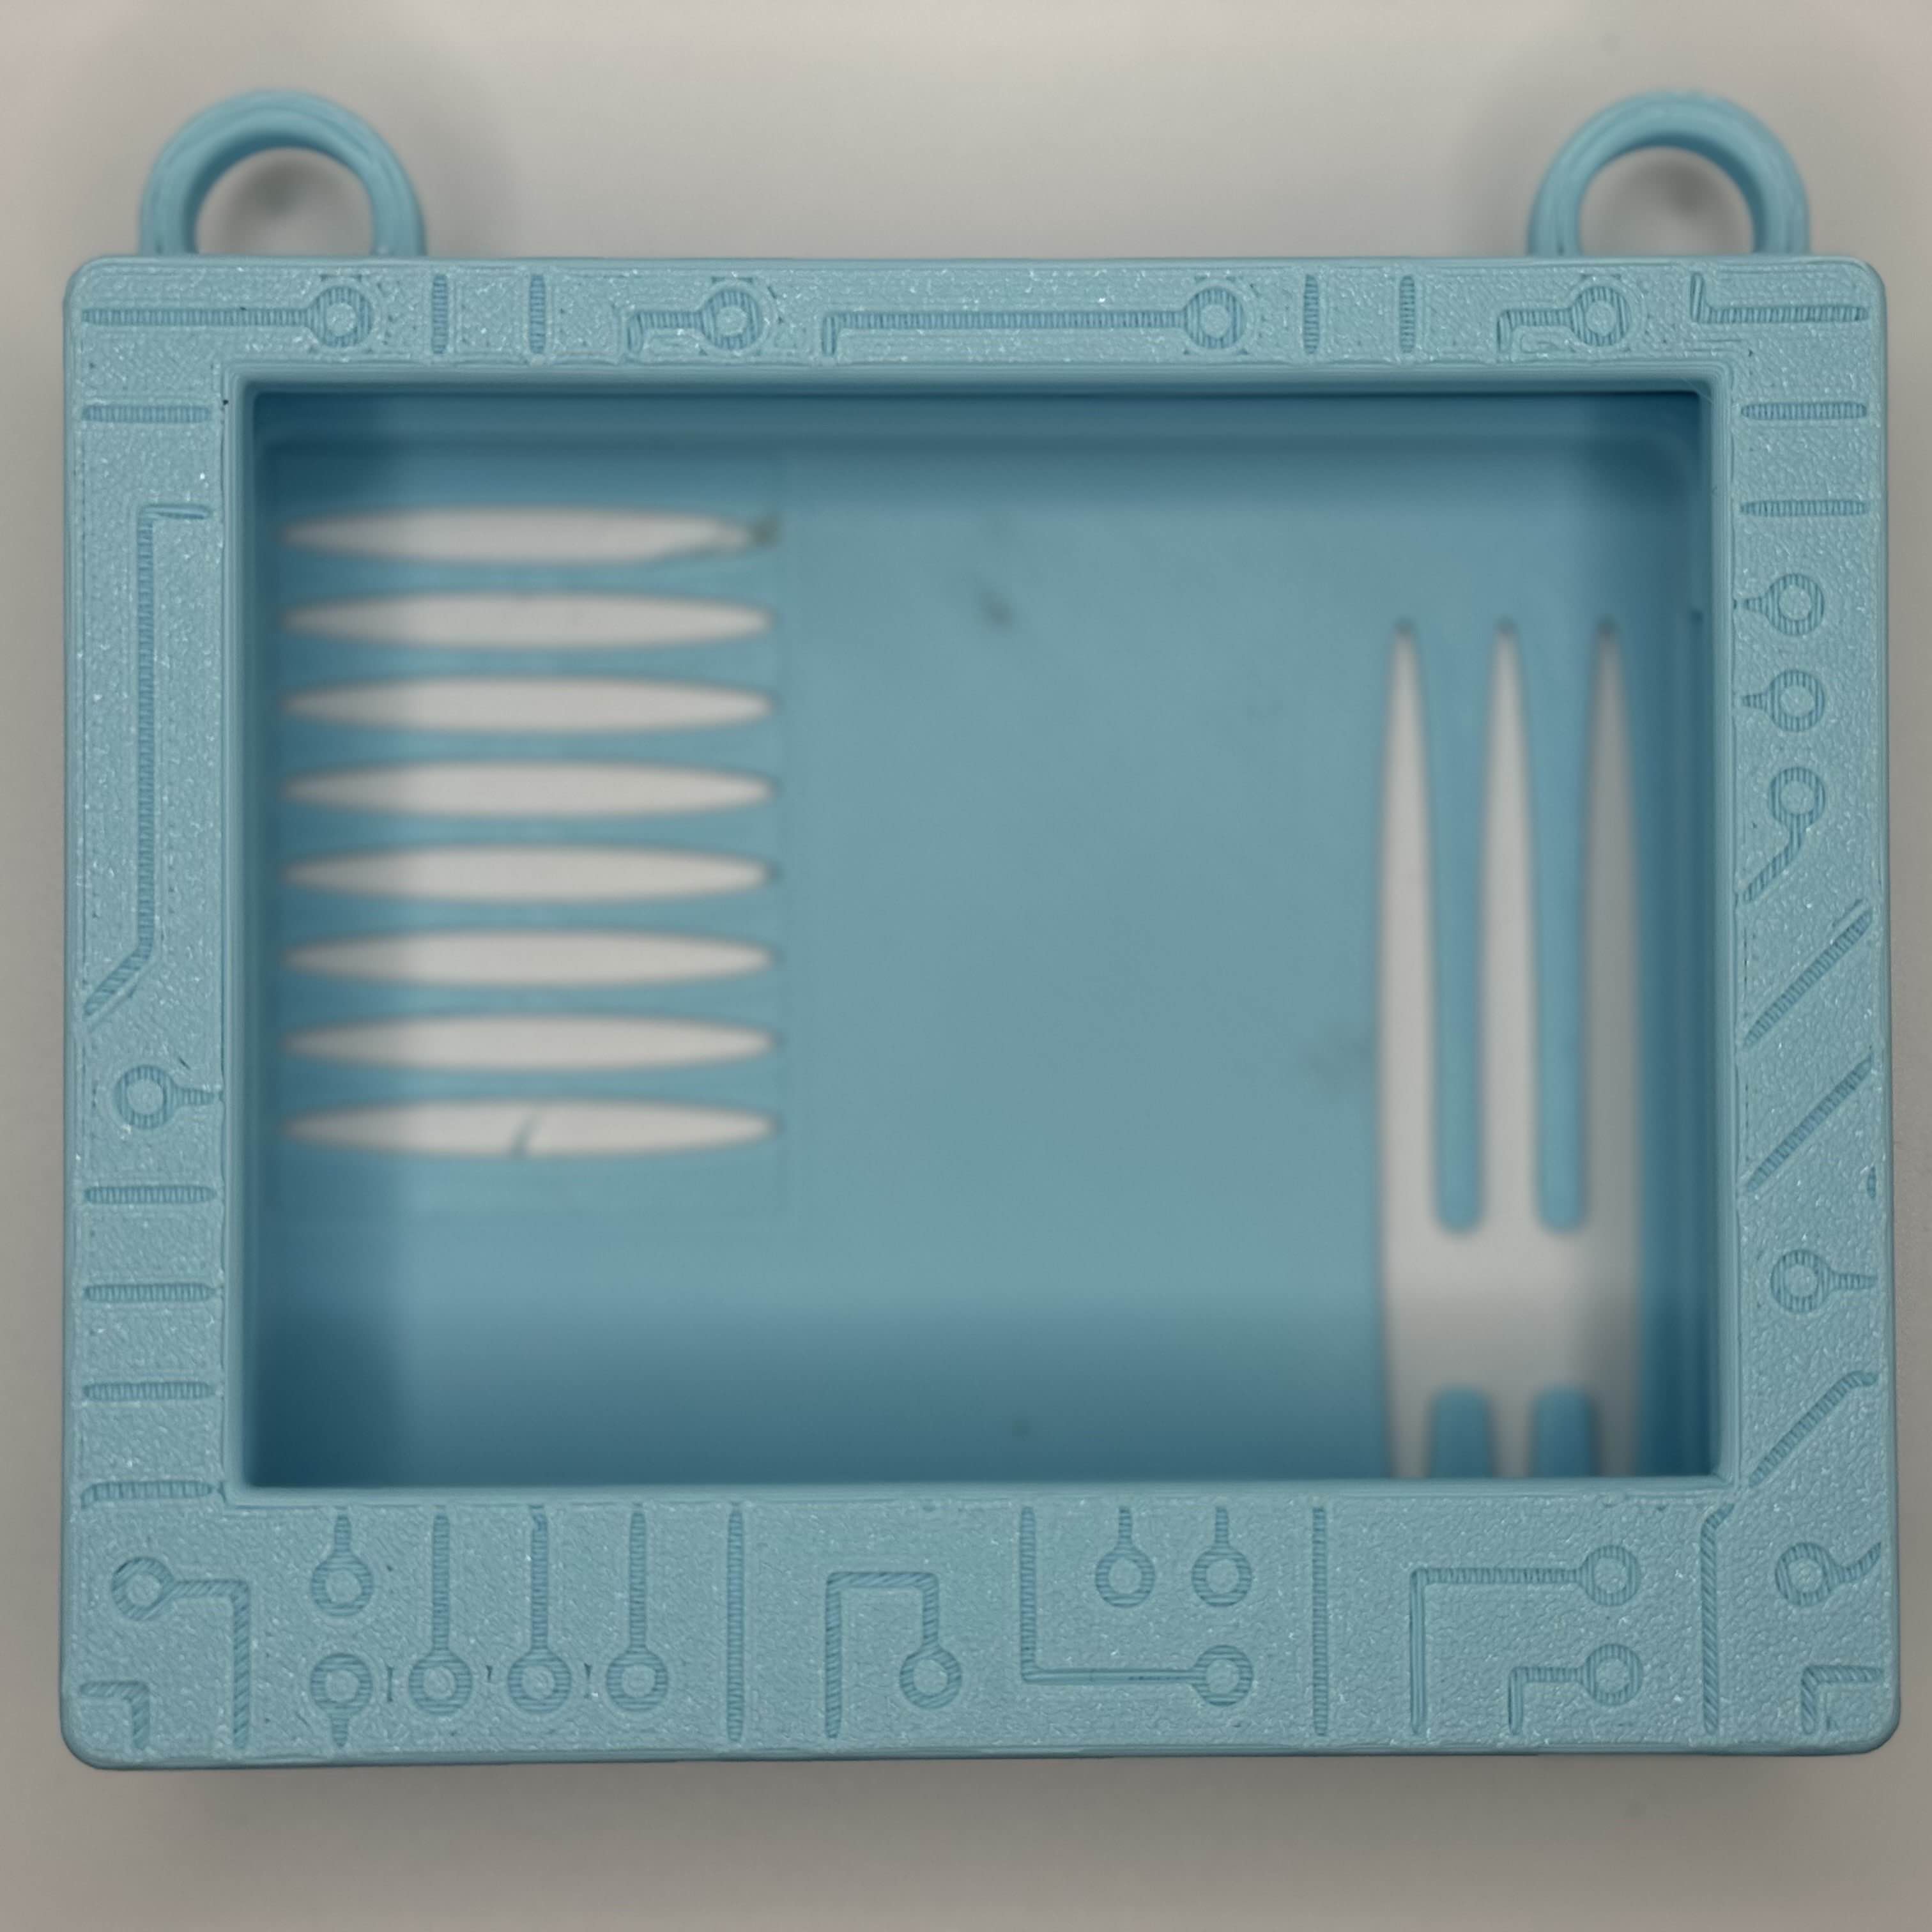
To accomplish this I downloaded some payphone models for reference and spent weeks calipering and measuring my own housing until I could FDM print sections to match perfectly with the mounting holes and shape and spirit of the real housing. Using clear resin also sheds the enormous 60lb weight of the steel housing. I started the CAD work in Tinkercad thinking it was going to be fairly simple, but soon had to switch to regular Autodesk.

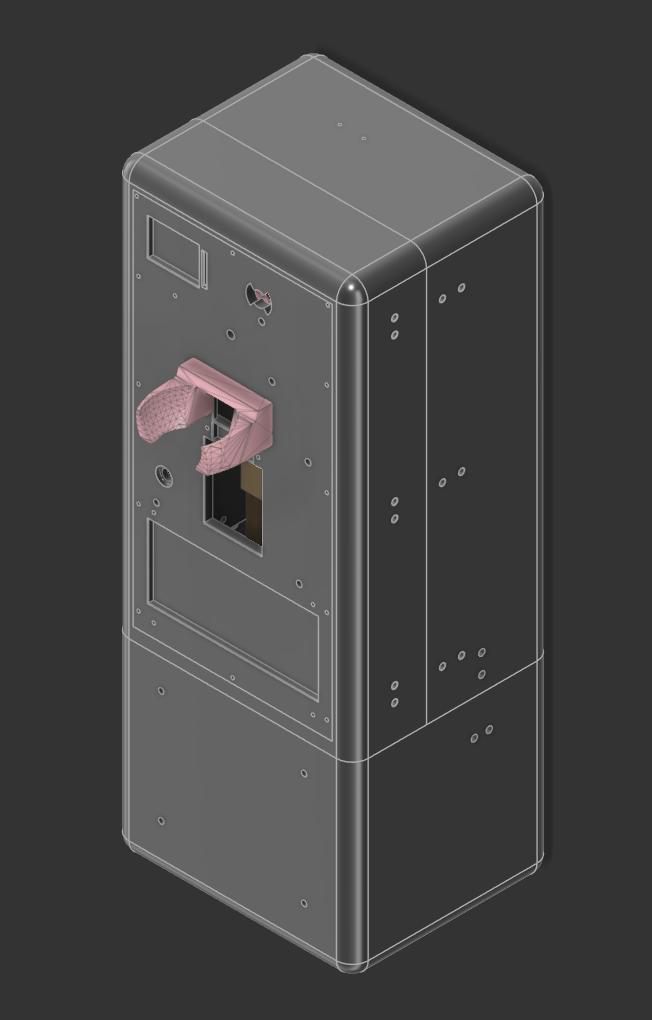
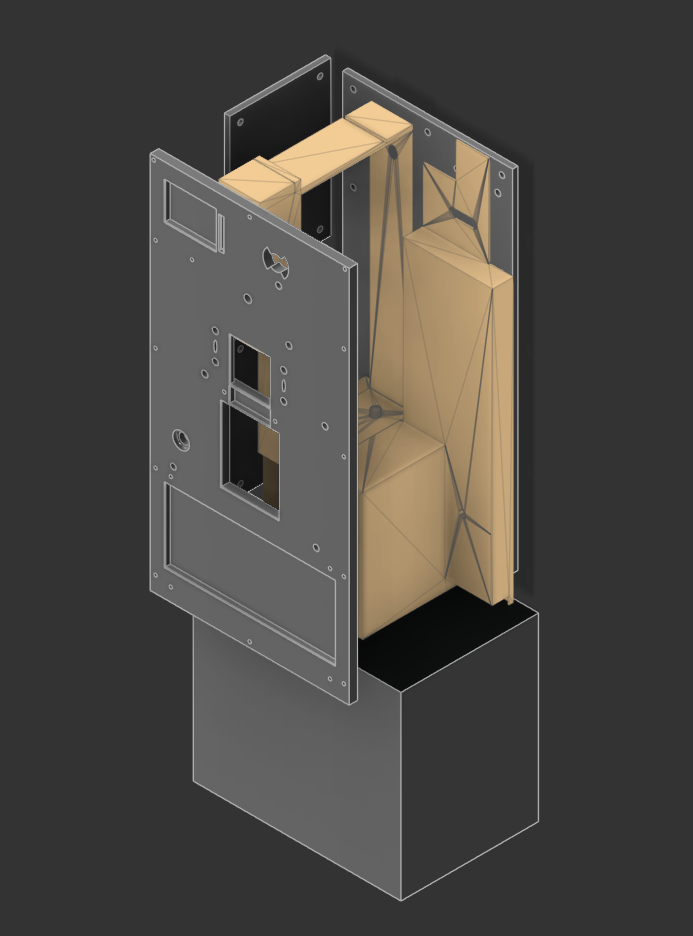
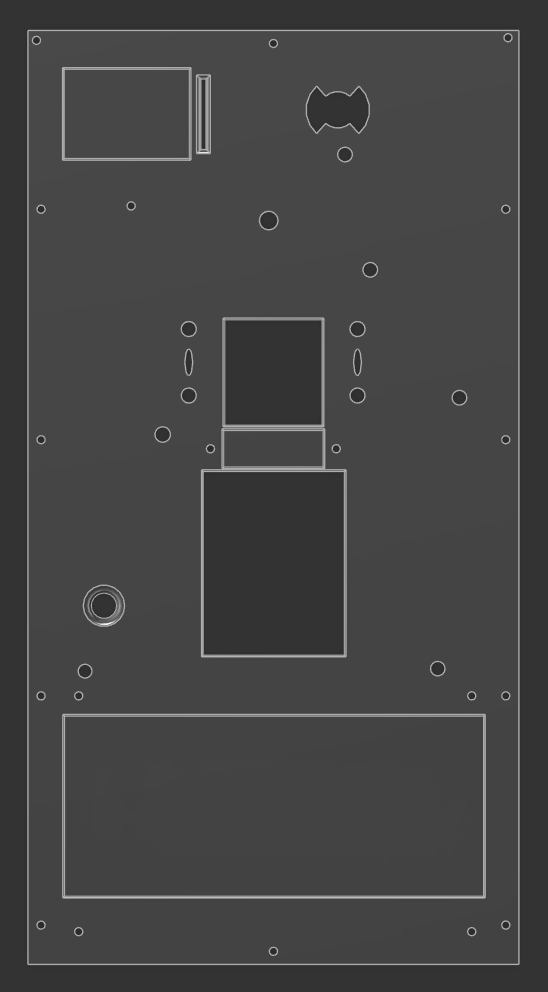
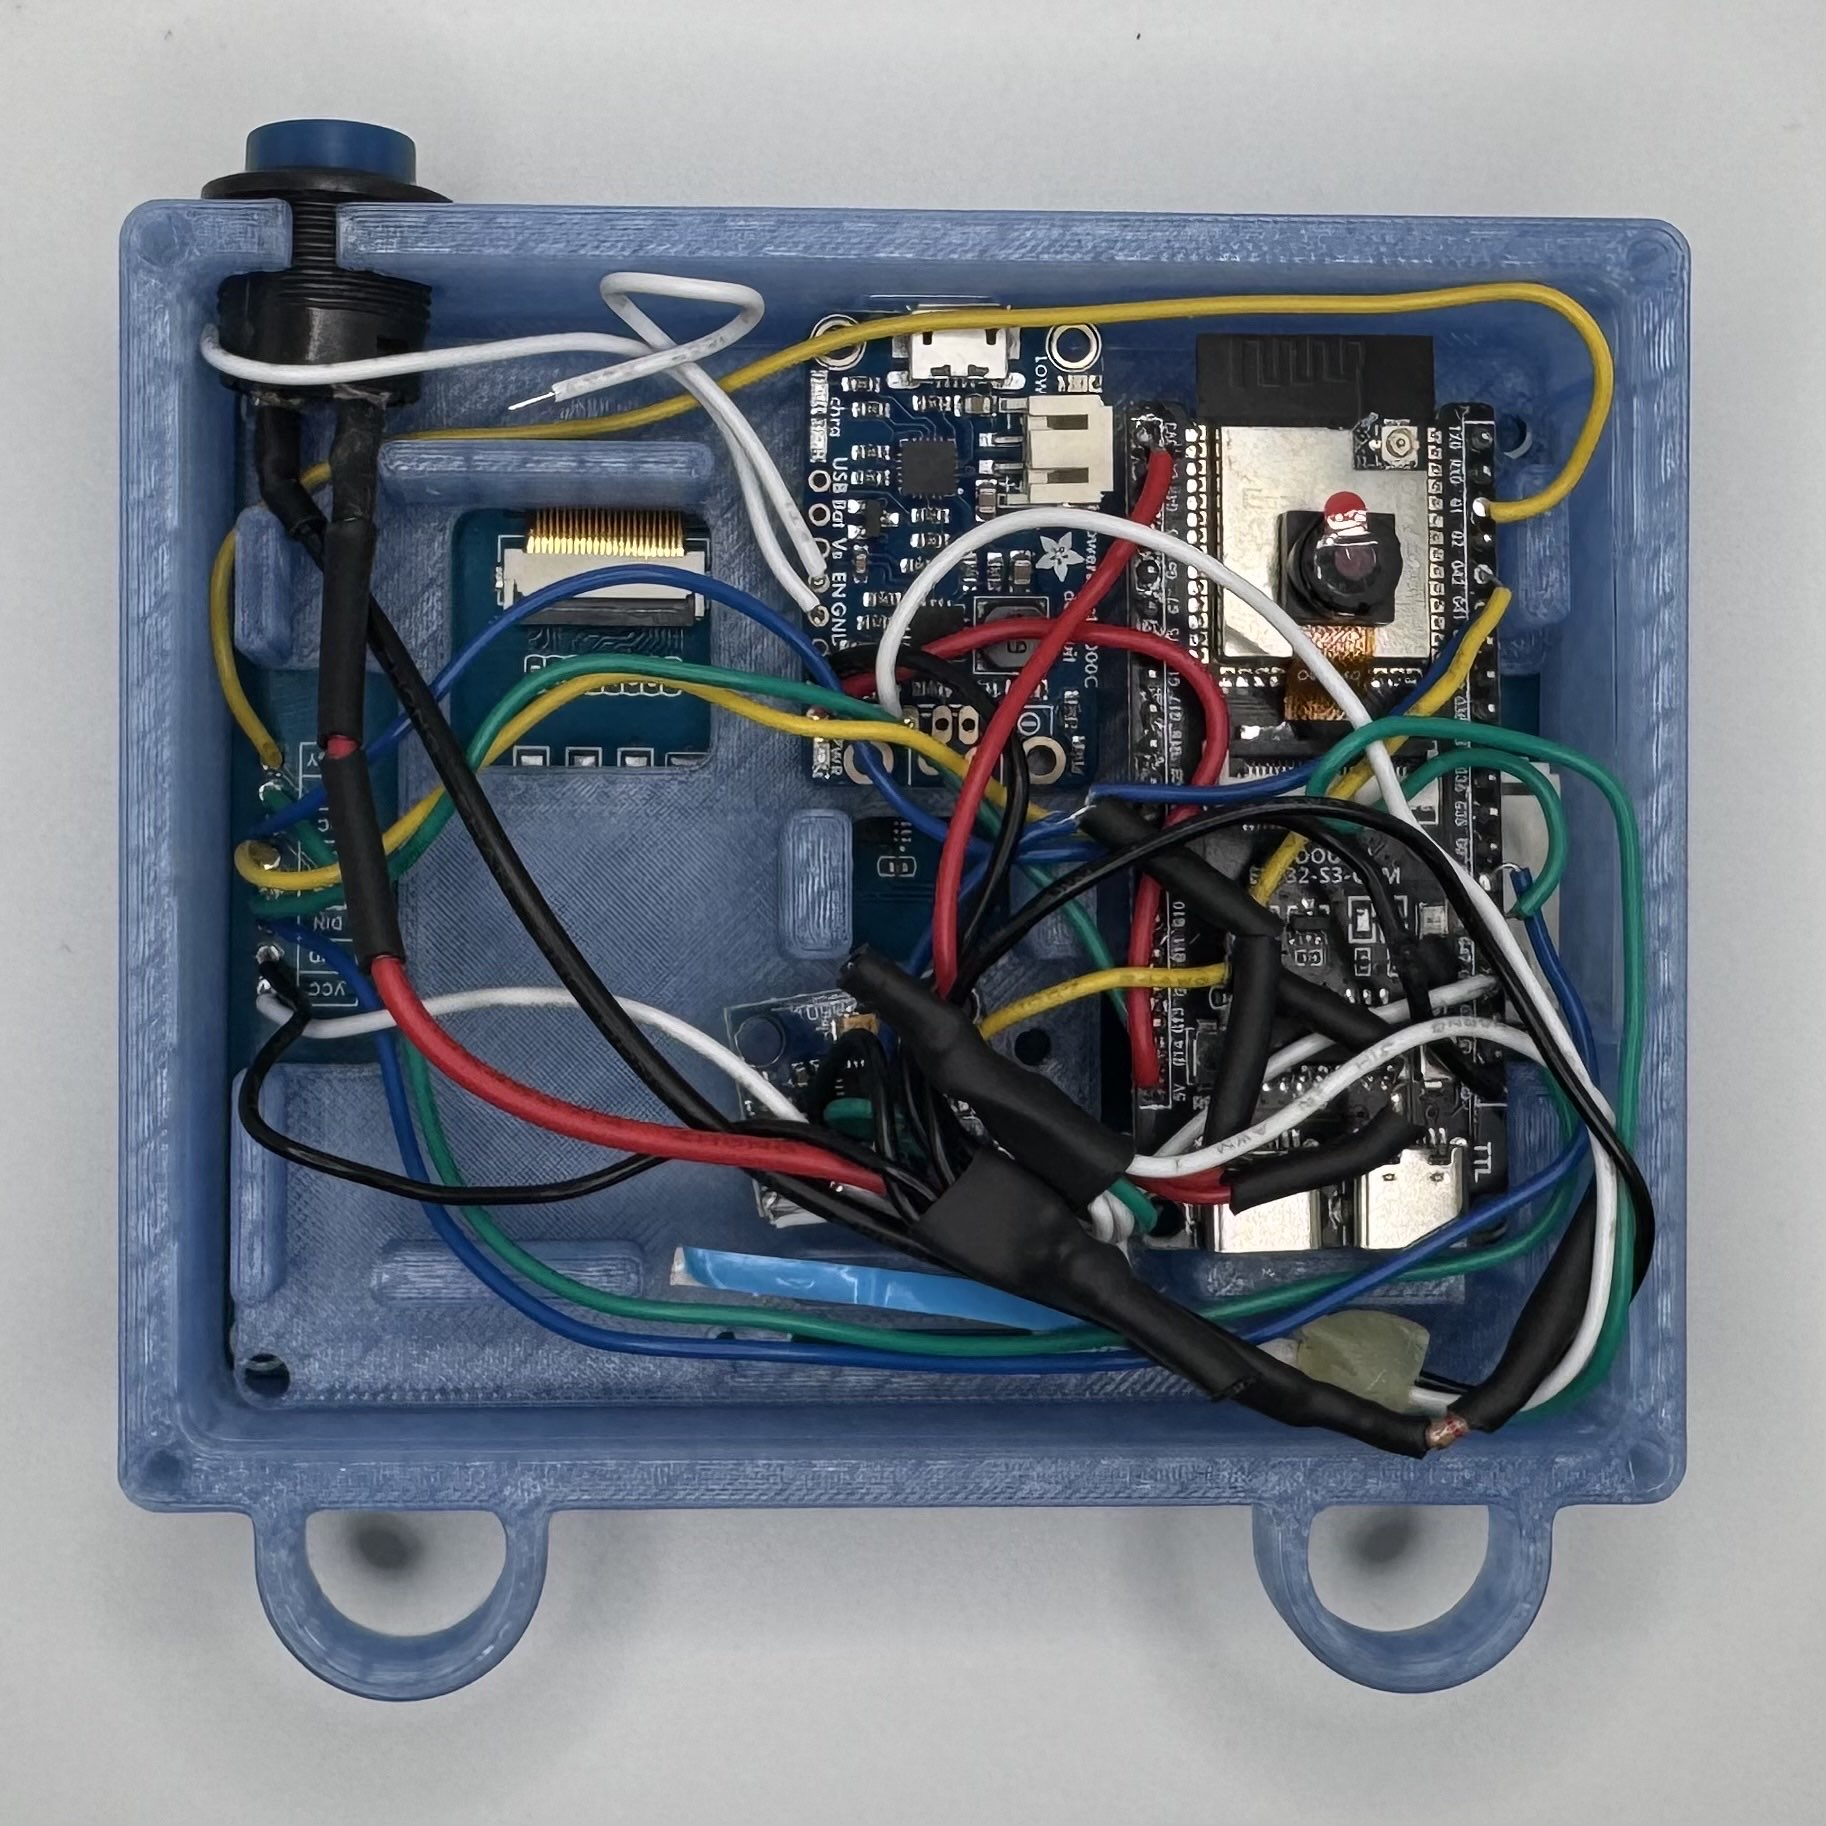
I modified the original payphone model to be slightly larger to accommodate both a thicker shell as well as interior mounting plates both for the original payphone parts as well as the boards and lights and such for my modifications. In addition, I also designed the housing to assemble a bit differently in order to better accommodate the big scary battery required for truly wireless operation.
Oh no! it turns out none of the coin mechs I have fit when the battery is installed, so I have to make my own using optical endstop switches and CAD. If any consolation, at least this makes mounting the RFID reader easier.
Printing
FDM Test Printing
Large-Scale SLA Printing
Tariffs make it insanely expensive and I would like to only do it once. There are no photos of this as I have not ordered it yet.
BOM Generalized
Original Payphone Parts Used
- Western Keypad/Hook assembly
MEI Coin Mechanism (does not fit with the battery oh no)CoinCo Coin Mechanism (also does not fit OH NO)- Hotwired Elcotel Mainboard
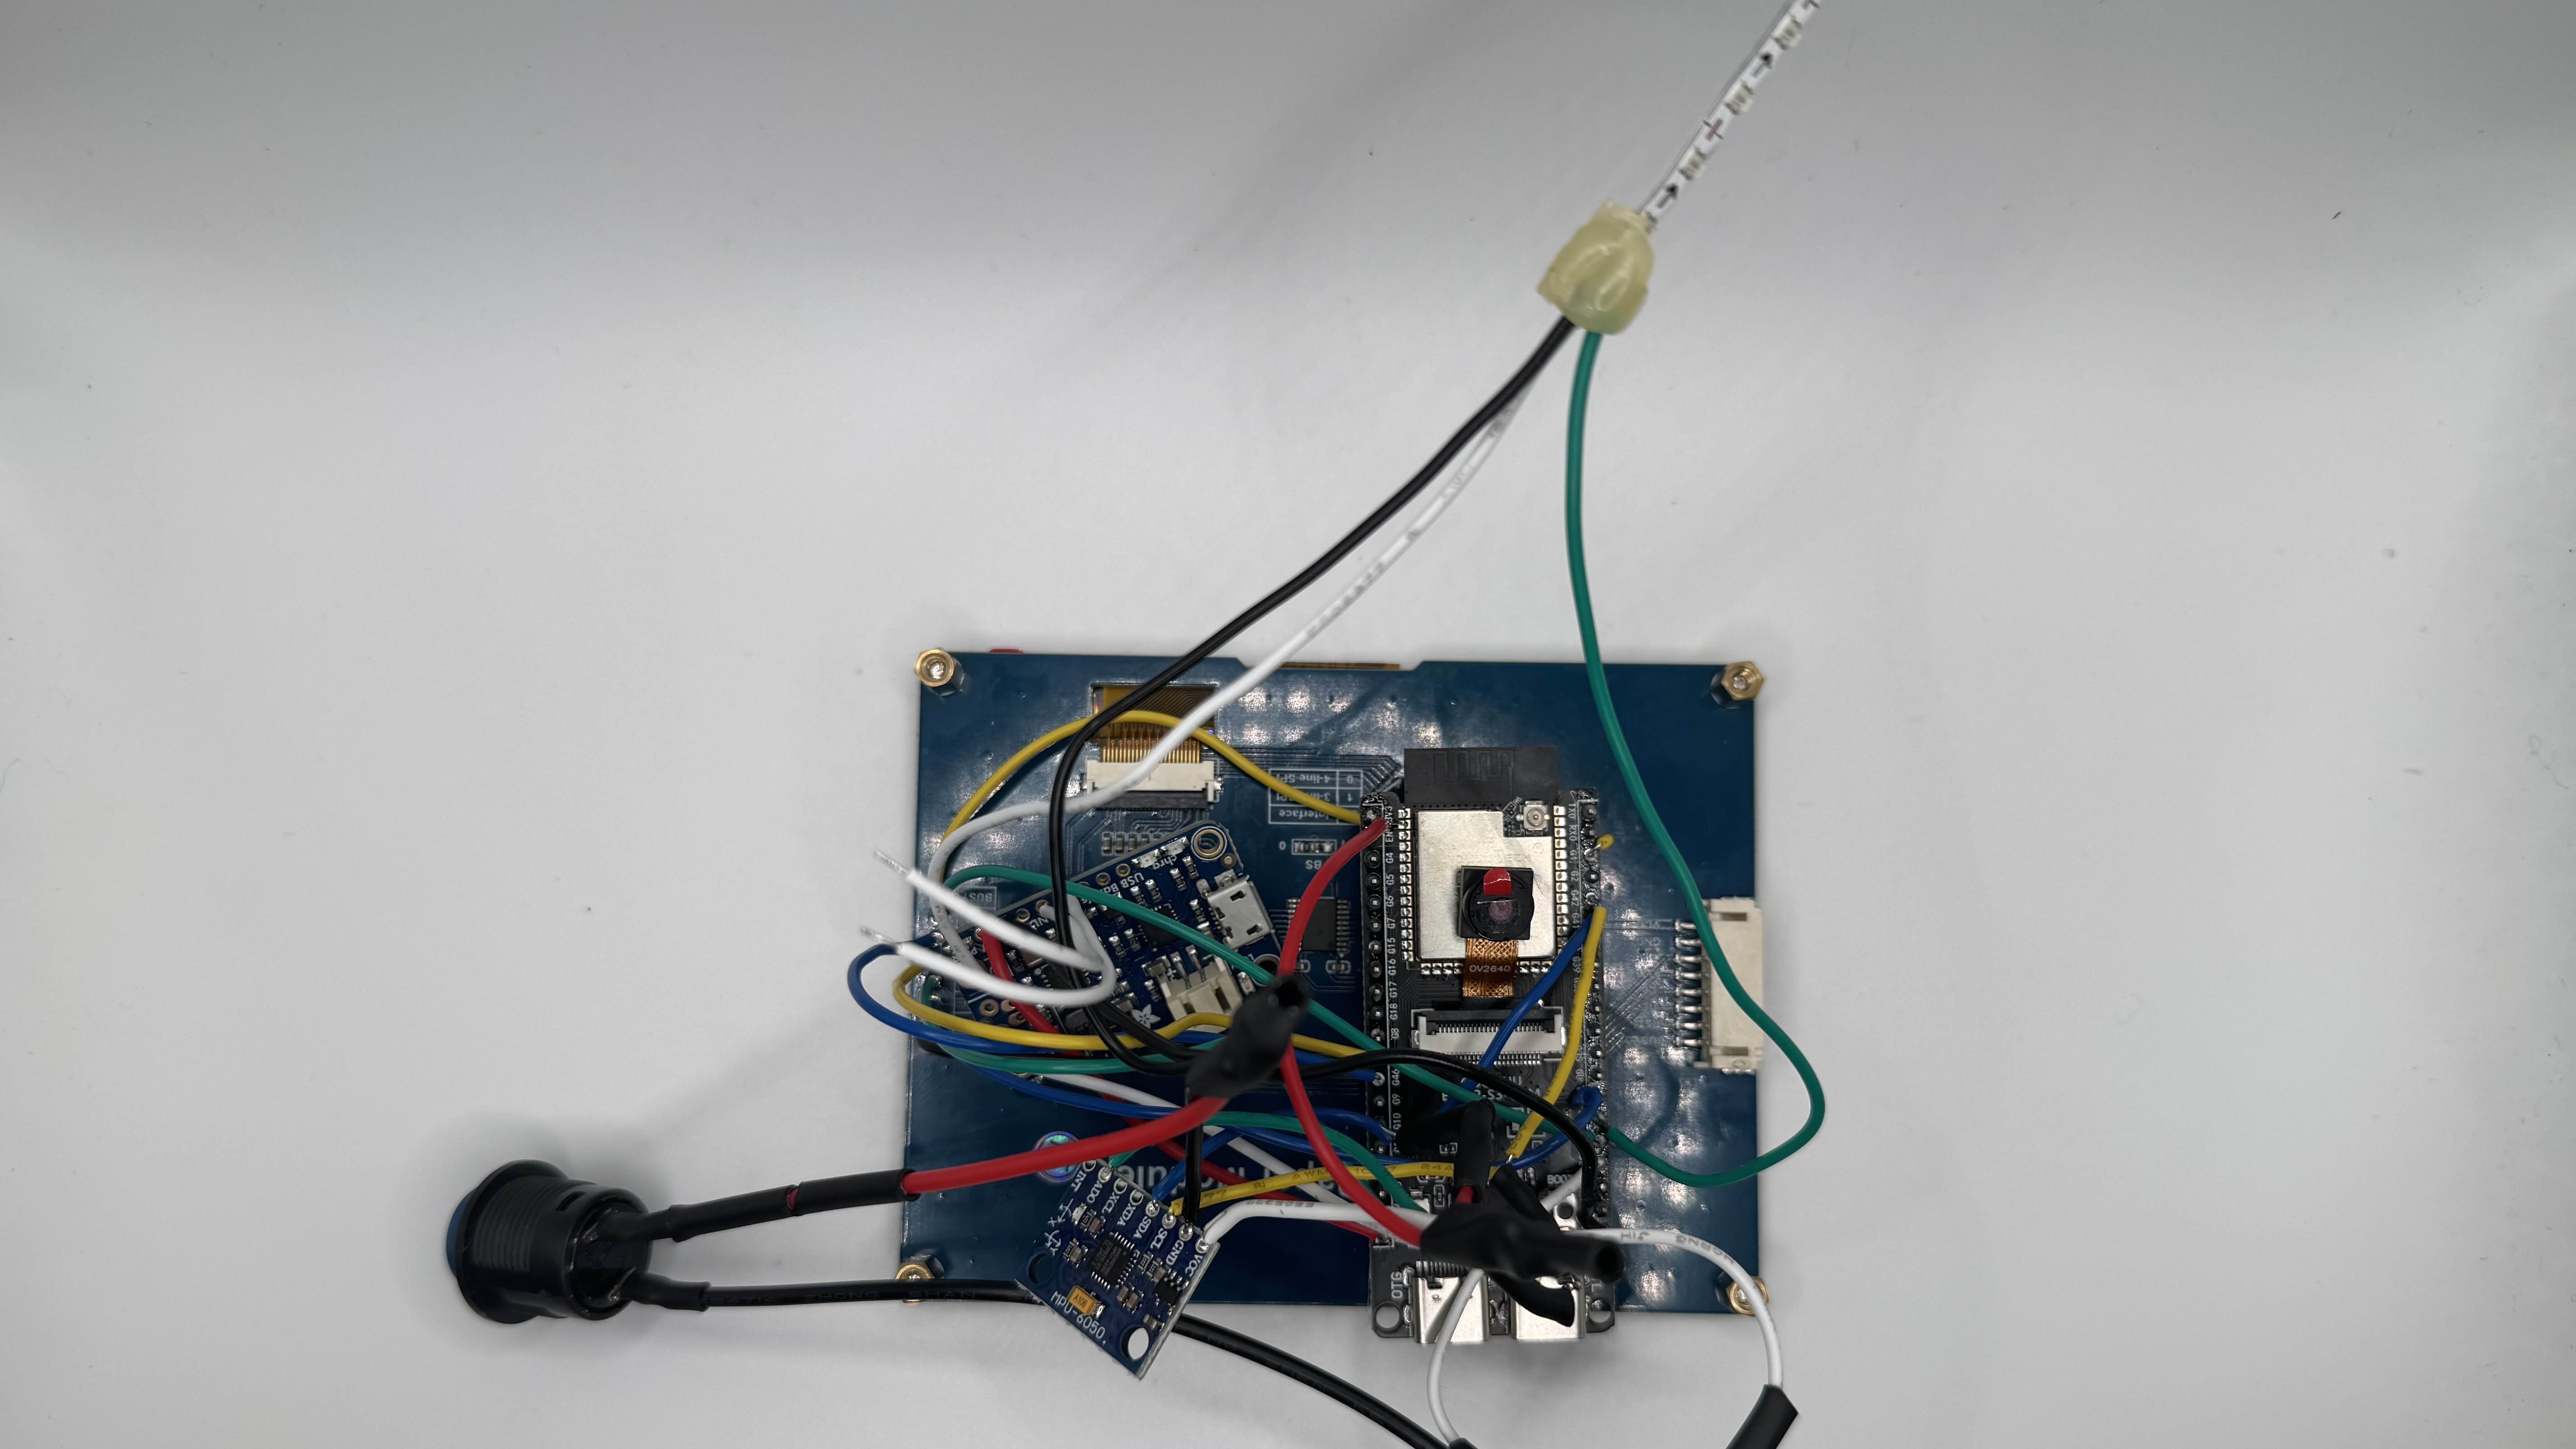
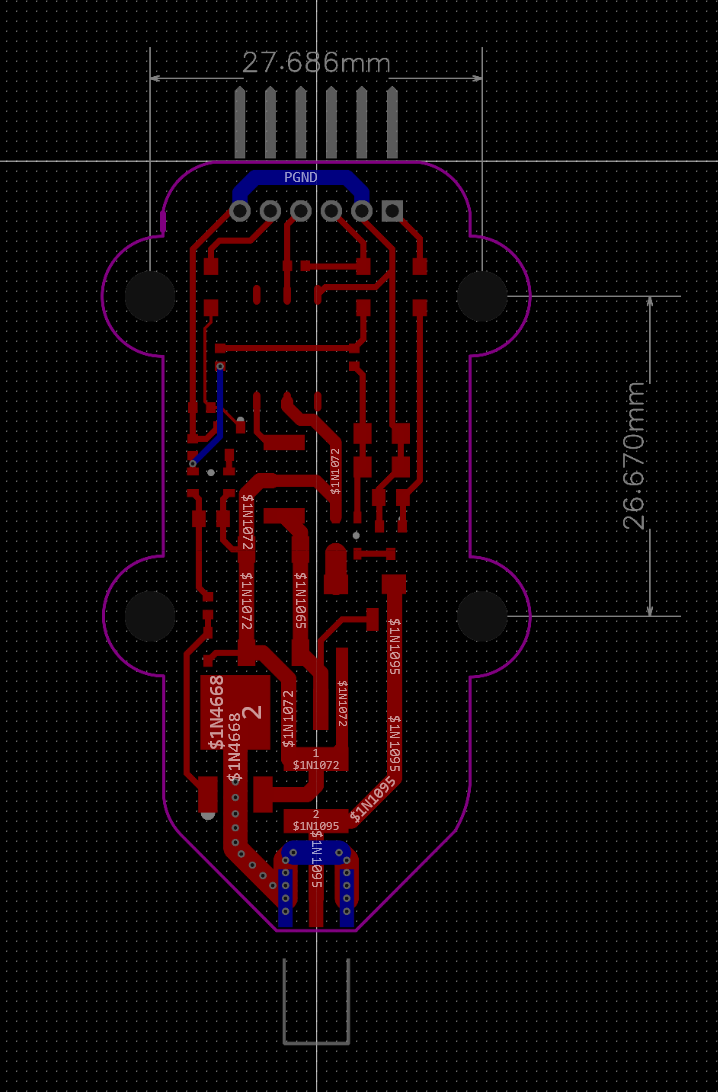
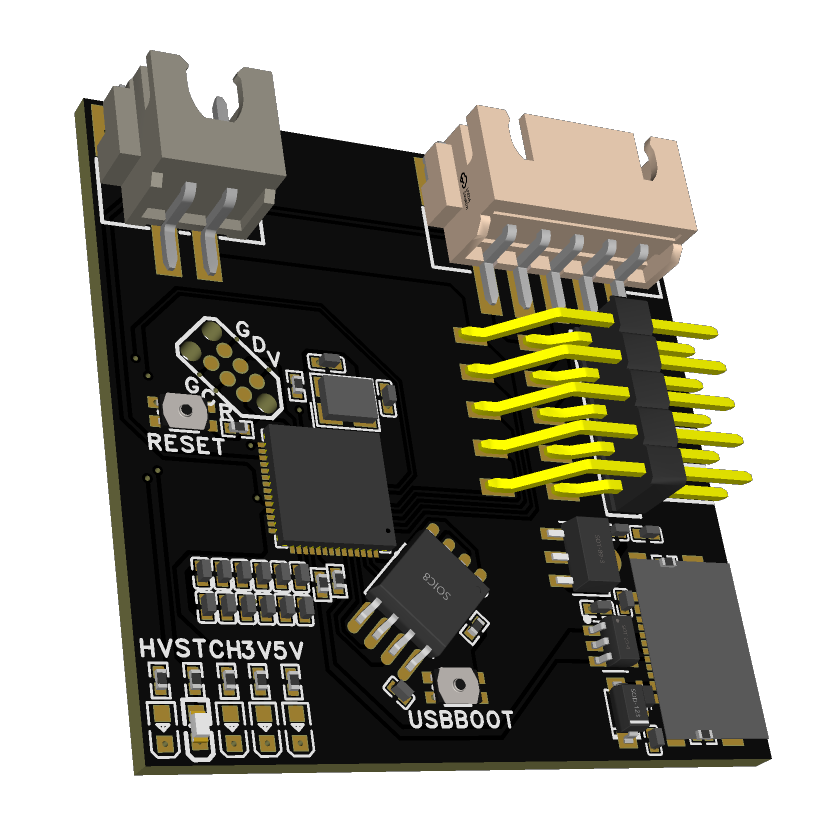
Controller Board
- Custom SAMD51+ESP32 board
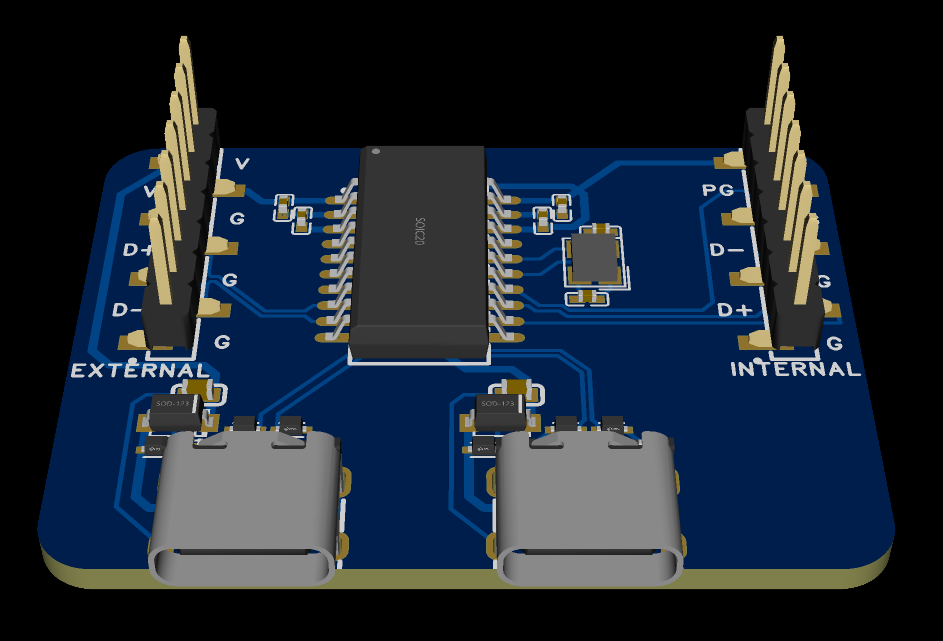
Fully isolated high-speed USB 2.0 Audio Device Class – “USB Headset”- Bluetooth connection to iOS/Android/PC devices
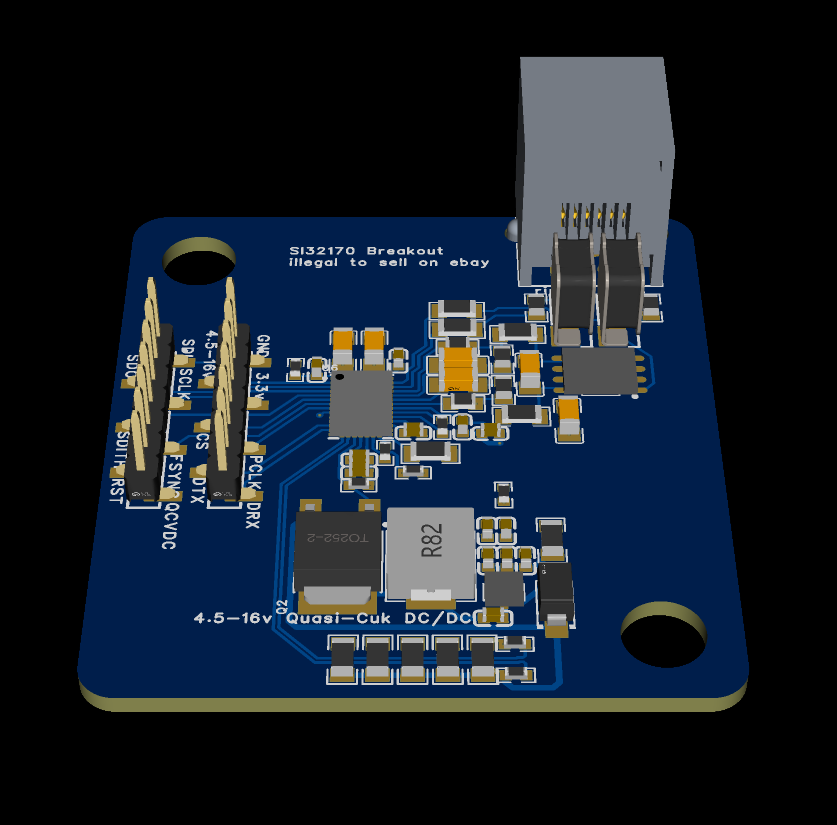
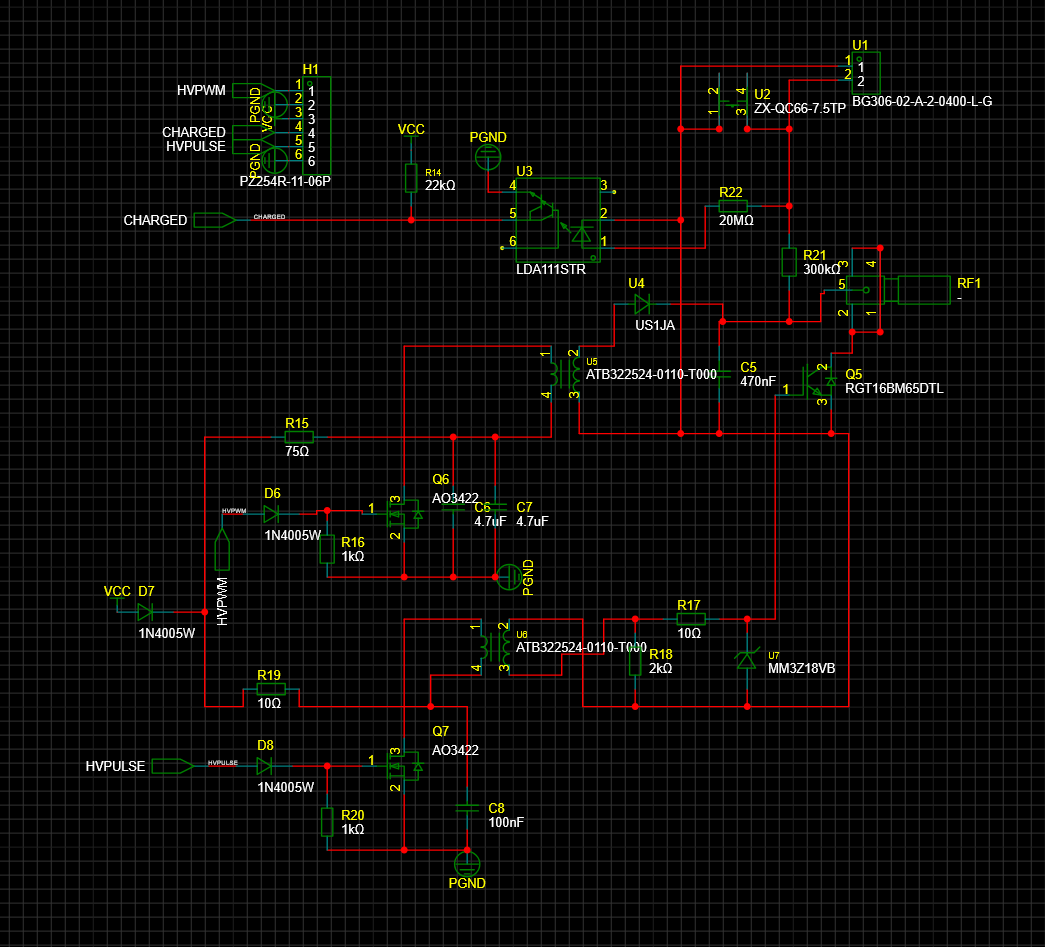
- ProSLIC-based FXS with Quasi-Cuk HV circuit and built-in DAC
- SD storage
- 32x32 RGB LED Display (front interior of coin box)
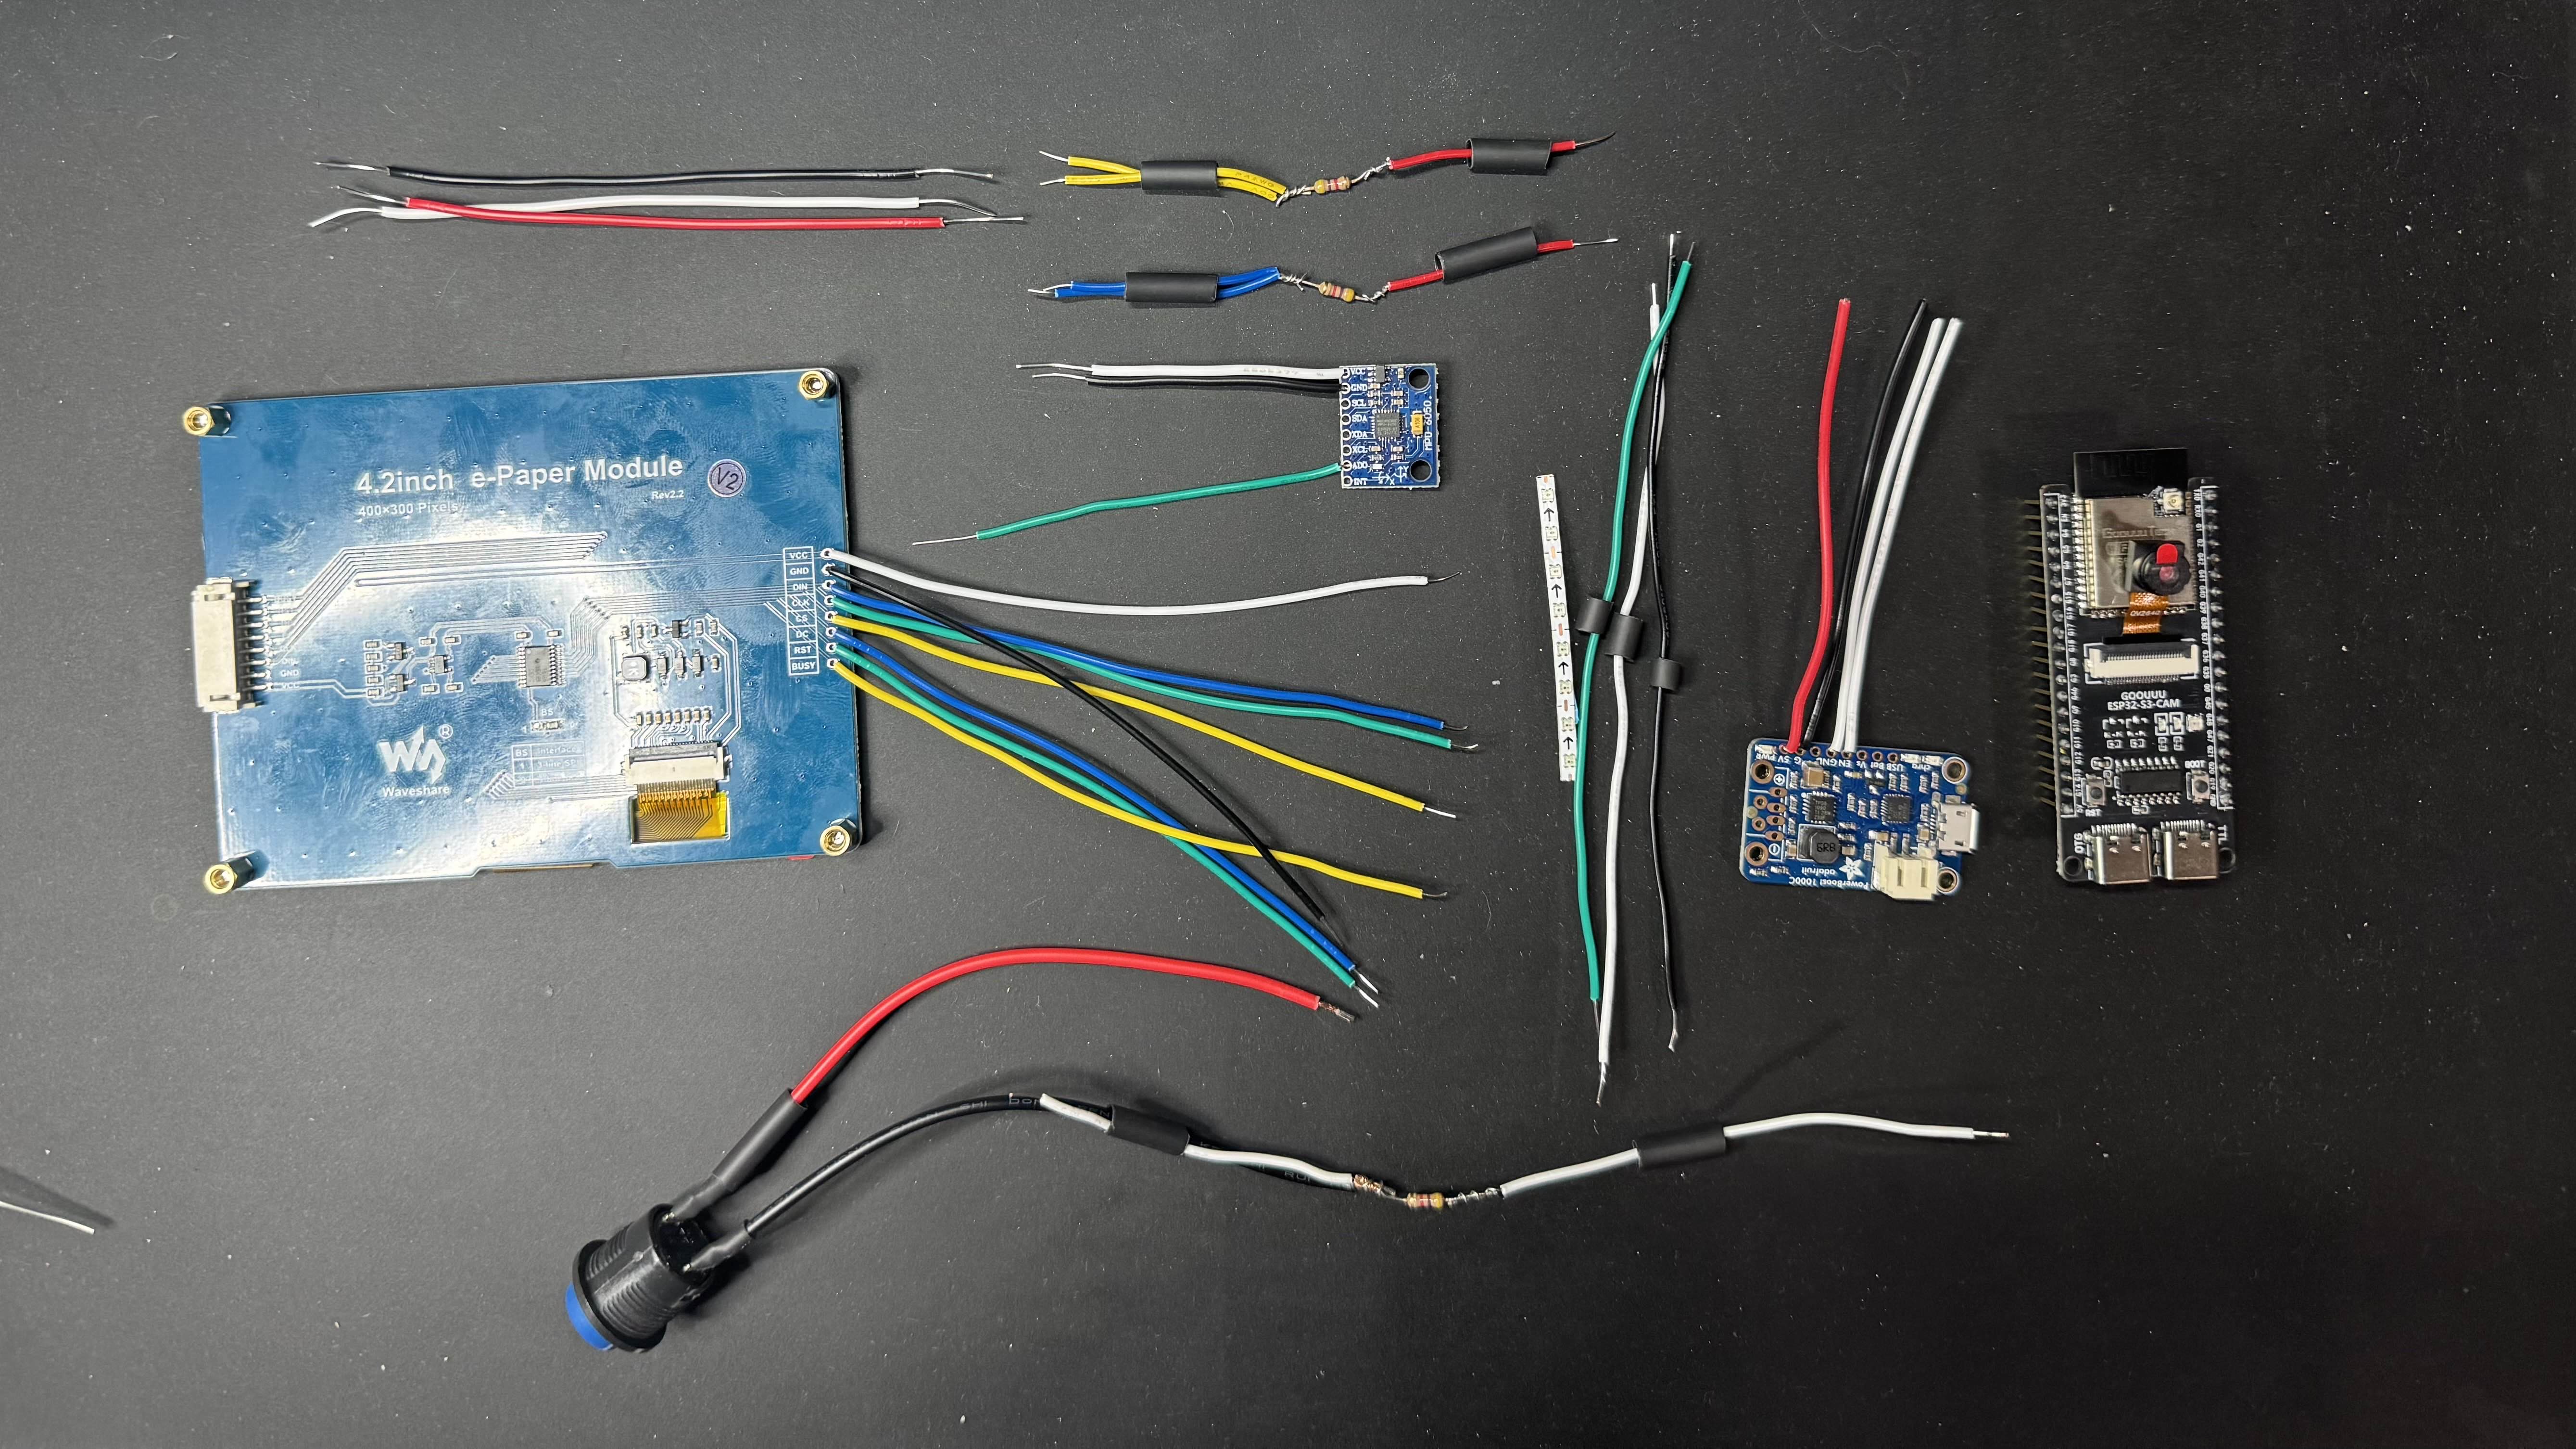
- 5” 3-Color E-Paper Display (center front branding card)
- 1.5” Transparent OLED Display (front top left volume button / sticker)
- 1” OLED Display (number card)
- RFID reader built into Coin Mechanism
- GPIO for relays for EL-Wire and Discrete LEDs
- GPIO for
Bespoke Coin Mechanism
- Many WS2812 RGB LEDs
- LiDAR Detection (to know when its photo is being taken)
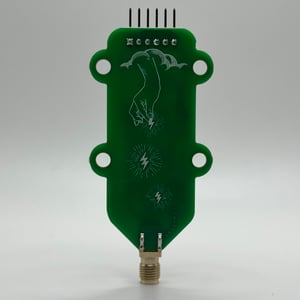
- LoRA Meshtastic Sidecar board
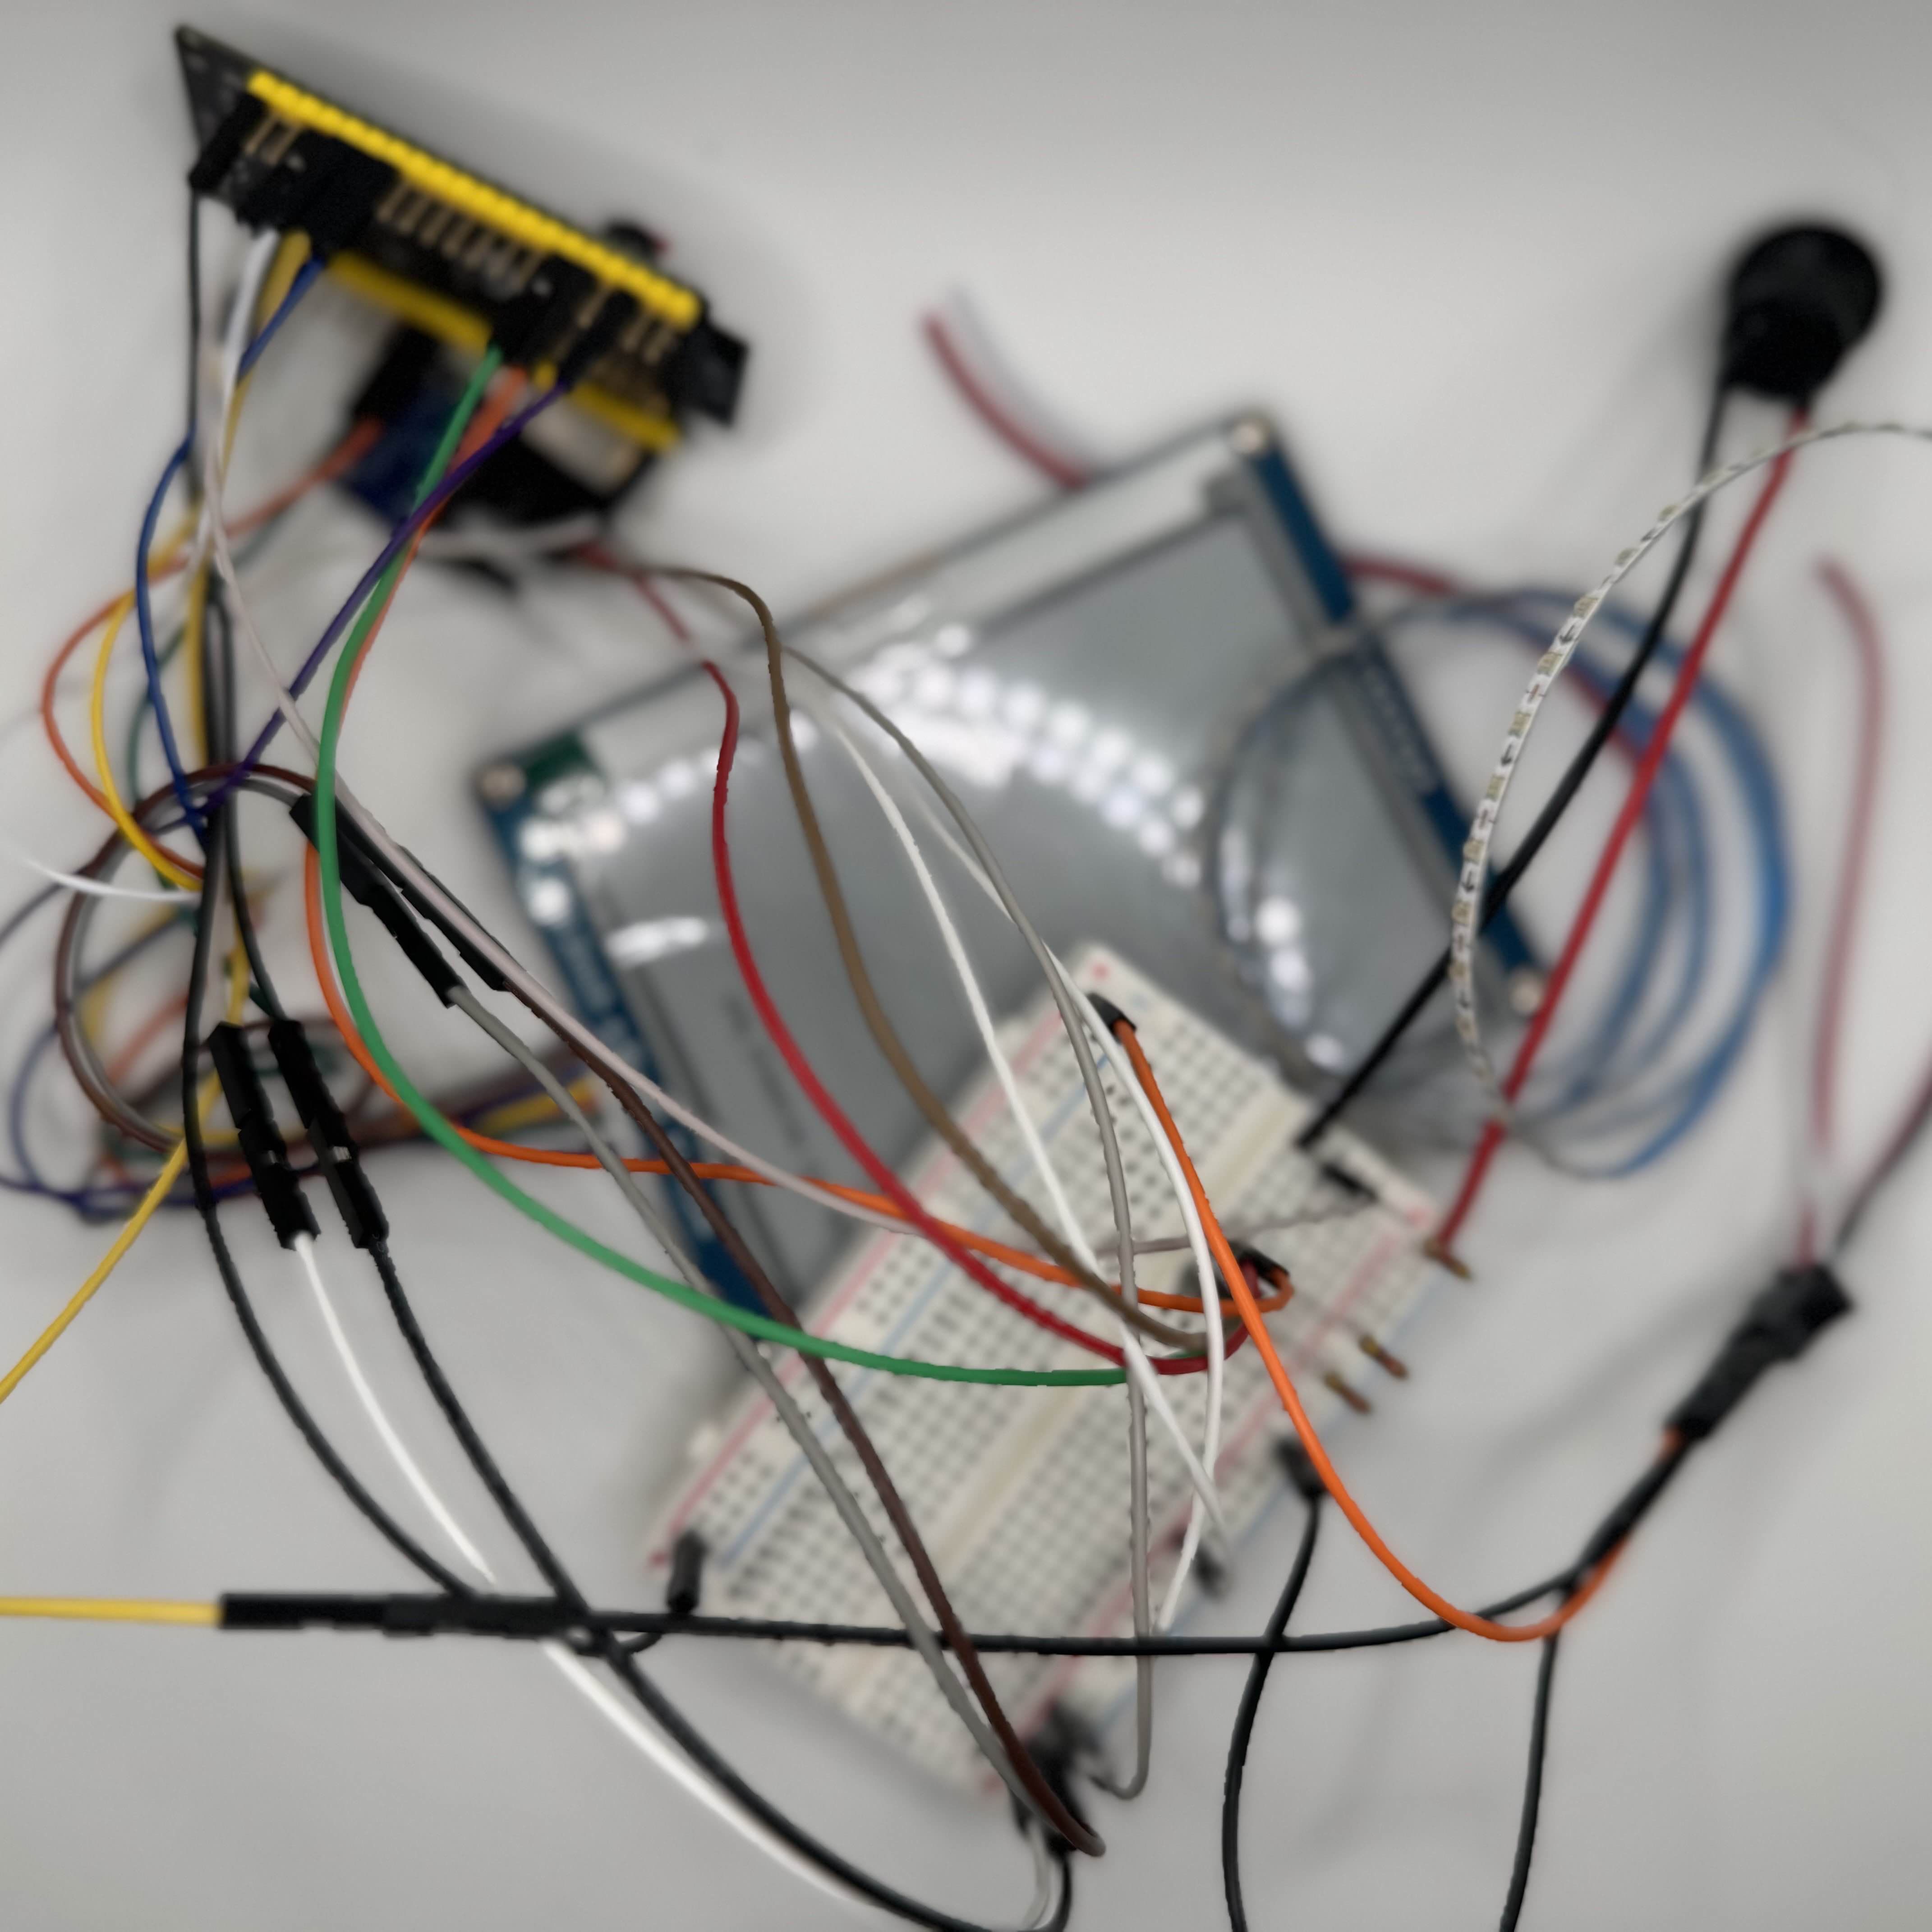
Prototyping Previews
The main controller board will feature a ProSLIC chip and a high-speed USB isolator for the connection to a cellphone.
The ProSLIC test boards have arrived!
picture
Displays
coming soon, it takes forever to put graphics up on this
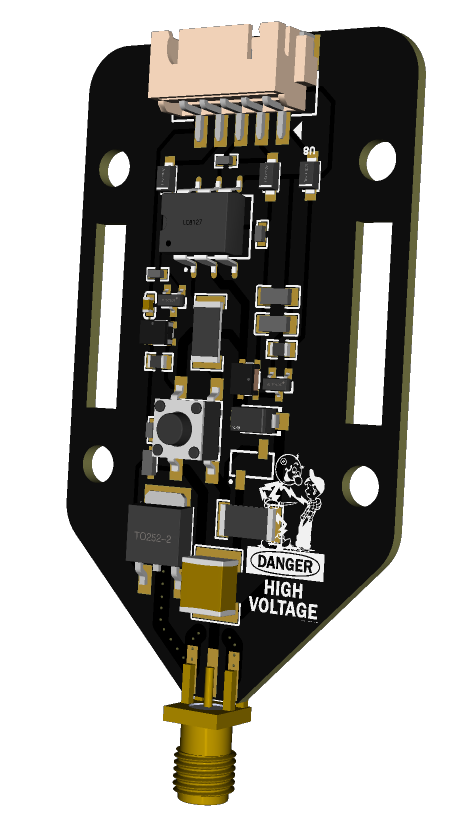
Power Board
- Fused input from 12v 50aH LiFePO4 battery with its own BMS
- 4+1x Fused Output Rails: 3.3v@4a, 5v@4a, 5v@5a, 12v@20a, 3.3v@4a dedicated for INA219
- MOSFET-based Remote GPIO+Physical Switch Controls Per Rail and Main Cutoff
- INA219 for Voltage Monitoring
- Multiple onboard EL-Wire inverters
- GPIO controlled relays for LEDs and friends
Features
- Wireless, battery powered, back pack mounted functioning payphone – But Prison Clear and Colorful!
- Any amount of change lets you place a call!
- Redbox support
- Incoming and outgoing calls completed via cellular network
- Bluebox minigames facilitated by an onboard simulated POTS network
- It blushes when you take its photo with an iPhone Pro
- It has FOUR displays! and EL-WIRE! and LEDs!
- It might read received text messages aloud!
When Can I See It?!
Project State
ConceptBuy a payphone, strip and gut ittry to use housing to make casting mold – this failsbegin using housing for measurements for CAD modelwork in tinkercad – it becomes a nightmarework in fusion, far far far better, learn a lot that ends up propelling other projectsacquire or make Western/GE style handset – BUT CLEARstart FDM prototyping the housing modelwaste a bunch of money on wrap and paint and heatshrink for when its time to make it colorfultry prototyping with samd21 and KS0835 SLICs – find this to be saddled with too many problems and no way to solve themdesign samd51-based board which can handle everything including the DAC stuff internally and well- Firmware Development
- Breadboarding and Final COTS assembly and tests
- Boards Final Design, Order, and Testing
- Housing Model Final Adjustments and Order
- Final Assembly and Testing
- Take it on Tour
Upcoming Appearances